
This recipe was a real pita. Or at least it was the last time I made it. I've been making these pita pockets since my daughter was in elementary school, and for years they puffed beautifully. Then one night I tried making a batch in a different oven and couldn't get those big dramatic pockets. A few of the pitas puffed a little, but none of them ballooned the way I remembered. As usual, this led down a rabbit hole trying to figure out why pita pockets can be so unpredictable.

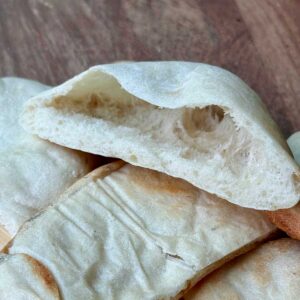
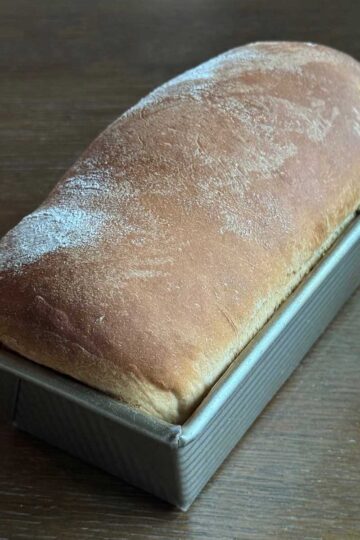
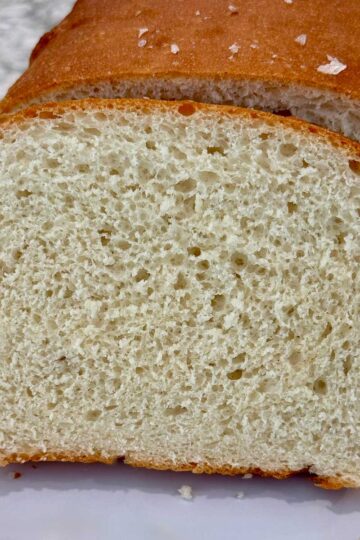
It turns out you can do almost everything right and still have mixed results. Pita puffing depends on a combination of factors, including the temperature of your oven, the heat stored in your baking surface, the hydration of the dough, and even how evenly the rounds are shaped. I've used the same recipe in different kitchens and ended up with both gorgeous balloon-like pitas and flatter versions that needed a little help opening into pockets. When everything comes together, though, they look like this.

Pita Pockets and Naan Recipe
For these pita pockets, you can use either a pizza stone or a cast iron skillet. The cast iron skillet requires cooking the pitas one at a time, but each one takes only a few minutes, so it's still a quick process. A pizza stone gives you more surface area and lets you bake multiple pitas at once, but I still like the cast iron because it's easy to monitor and tends to produce good results.
Parchment Paper Method
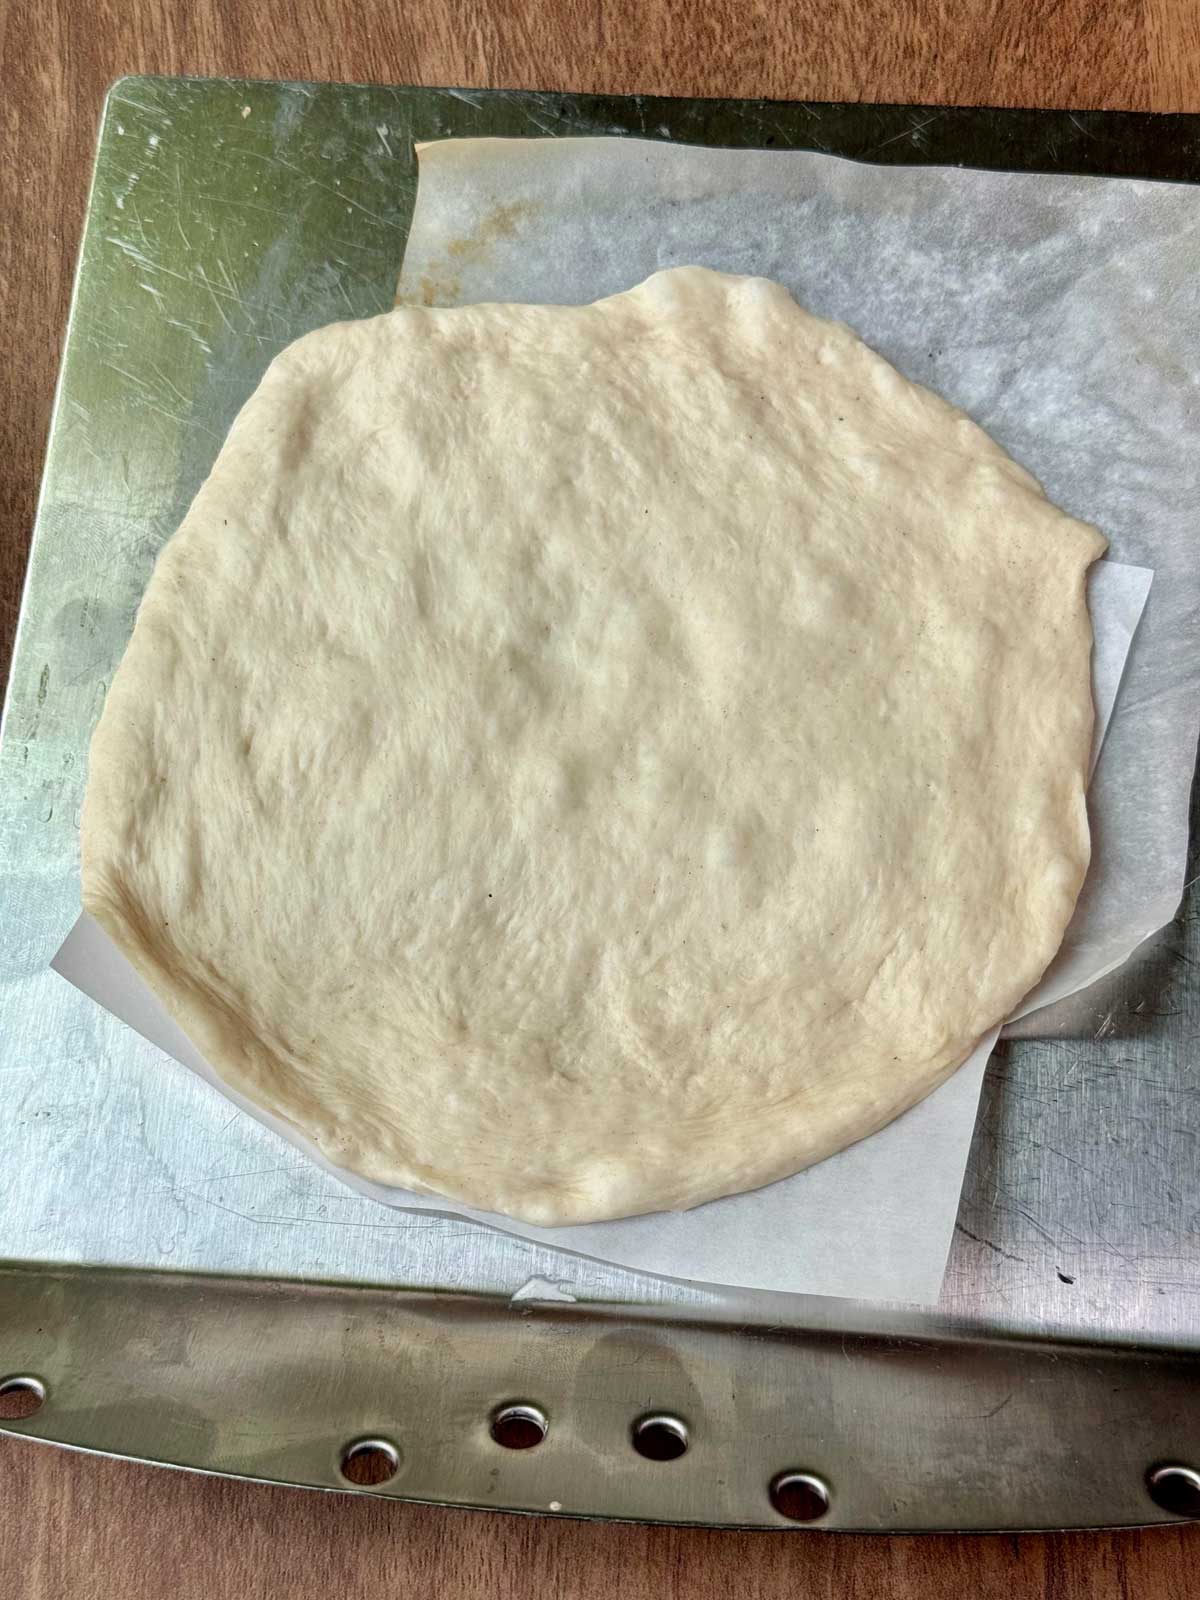
One thing I learned during my latest pita adventure is that slightly sticky dough often puffs better than dough that's heavily floured. To make transferring the dough easier, try shaping each pita on its own square of parchment paper. Press or gently roll the dough into rounds directly on the parchment, then use a cake lifter, pizza peel, or wide spatula to transfer the parchment and dough to the hot baking surface. If you're using a pizza stone, you can slide the parchment and pita right onto the stone. The parchment makes handling easier and helps keep the dough from being stretched or deflated during transfer.
Tips for Getting Your Pitas to Puff
- A fully preheated baking surface is essential. Let the cast iron or pizza stone heat for at least 30 minutes after the oven reaches temperature.
- The dough should be well hydrated. If yours seems dry, add a little more water. If it seems to wet, add a little more flour.
- While I originally made these with all-purpose flour, I think bread flour is a better option because you can make a wetter (more hydrated) dough that's stronger.
- Roll evenly. Uneven thickness is one of the most common reasons for incomplete pockets.
- Rolling from the center of the round to the edge is also supposed to help.
- If your pitas don't fully puff, don't panic. Even partially puffed pitas often separate enough to create pockets. I sometimes use kitchen scissors to open the interior layers.
Recipe
Pita Pockets
Ingredients
- 3 cups bread flour or all-purpose flour (385 grams)
- 1 ½ teaspoons salt (7 grams)
- 1 tablespoon sugar (4 grams)
- 2 ¼ teaspoons instant yeast or active dry** (6 grams)
- 1 ¼ cups warm water (130 degrees if using instant yeast) (280 grams)
- 1 tablespoon olive oil plus more for the bowl
Instructions
- Put all of the ingredient in a stand mixer bowl. Mix together with a scraper, then set mixer on stand and knead with the hook for about 5 minutes. This dough should be pretty sticky.
- Rub a second bowl with the olive oil, transfer dough to oily bowl, roll dough around in the bowl to coat with oil. Cover with plastic wrap and let it rise in a warm place until doubled in bulk (an hour).
- Meanwhile, put a cast-iron skillet in the oven and preheat the oven to 500 degrees F.
- When the oven is almost (or fully) preheated, punch down dough and shape dough into 6 slightly sticky gobs about 4 oz/114 grams) each. Set the gobs on a parchment lined cookie sheet or tray to rest for about 15 minutes.
- Take one of the dough gobs, and shape it into about a 6 inch round on a surface lightly coated with flour. Use just enough flour to keep it from sticking and try to make sure it is of even thickness. This helps with puff.
- Alternatively, shape your round on a piece of parchment paper.
- With a couple of hot pads, carefully remove the hot skillet from the oven and set on the stove, a wire rack or a thick hot pad. Transfer the round of dough to the hot skillet. If using a pizza stone, use a cake lifter or wide spatula to just slide the square of parchment with the dough right onto the stone.
- Quickly put the skillet back in the oven and cook for about 5 minutes. If using a stone, slide the parchment and dough onto the stone and close the oven doow. Repeat with remaining 5 pitas. Makes 6 pitas.
Notes

Josie says
I'm in! Looks awesome. And Fuzz's smile sold me even if they didn't look as good as they do.
Anna says
Maggie, you should try making your pizza dough into pita. Maybe it will puff up!
Maggie says
What's strange is that these are almost the exact same proportions of ingredients for my quick pizza dough! I think I use 2 Tbs oil and put it together in a different order. But otherwise same stuff! Strange!
Julie says
Those are perfect! I use the pizza stone and turn the oven up as high as it goes--550. I don't make them that often, but I do think it's worth it when I do.
Katrina says
Yummy--homemade pitas sound yummy!
Amy @ What Jew Wanna Eat says
I have been meaning to make my own pita bread- this recipe looks fantastic!
Gloria says
I've never had a fresh pita-I'm afraid once I have one, I'll never be able to eat the card-boardy pita's again. I have Sabra garlic hummus in the fridge right now waiting for some pita and some Mah Jongg players to eat it!!! On another note, I posted my experiment with your BB pecan pie on my new, under construction blog. Can't figure out how to get two pictures in the same post...oh well!! Soon I will have lots of time to figure it out!
Cupcake Activist says
Cute cupcake beanie! I love pita bread so I think I'm going to have to try this recipe.
Robyn says
After my 3rd pizza stone cracked, I gave up on them and moved on to a cast iron pizza pan. I use it for pizza, but also for baking bread, and I think it would be perfect for your pita method: http://www.amazon.com/gp/product/B0000E2V3X/ref=oss_product
bakingblonde says
I love pitas but have never made them, i think i am too scared to try but it is worth a shot!
Jennifer says
If you don't have a pizza stone, you can use unglazed quarry tiles. I have 4 that fit and take up most of one oven rack. I just put a piece of parchment paper down on top of them, due to the creases.
I'm very impressed with the pocket! I've made various flatbread but have never had pita bread puff up that well. I never though to cook them in the oven, though, I've just done them on the stove top. I'll give it a try, I'm sure homemade tastes much better than those kangaroo pita they sell at the grocery store and would be a lot less expensive than at the Lebanese restaurant.
Doris Ruth says
Anna,
I have had good luck with pita bread by replacing the stone with doubled up cookie sheets that get put in the oven and preheated. If the dough is the consistency of an ear the handling works best; rolling it into a ball, then gently flouring it and rolling it into a circle.
I hope you will continue your yeast explorations. I really enjoy your blog!
Melissa says
These look so fun!
Louise says
Does Fuzz ever take off her cupcake hat? 😉
Louise says
Those look great. It's almost lunch time here and this is making me hungry. 🙂
vanillasugar says
WOW! you did have good luck with those. they look perfect! man those would be so good with fresh hummus.
i bet using the cast iron gave it a better crust you know?
Erin @ what the fork says
I can't wait to try this, last time I made pitas they only had little bubbles that I couldn't fit anything in. Thanks for sharing!
Sue says
I've had the dumbest luck making pita bread. And, now that I've said that my pita bread will probably always be flat. haha!
You have beautiful pockets!!