
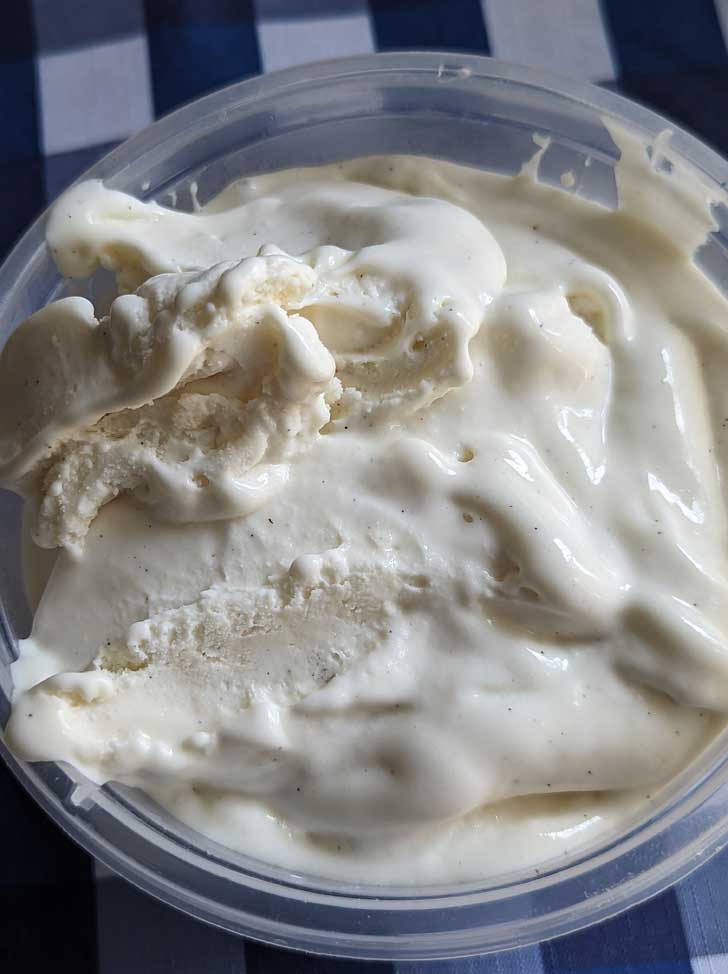
This is my current favorite homemade no-egg, no-cook, blender vanilla ice cream recipe. I've been bouncing back and forth between this and one that contains condensed milk, and I think I like this egg-free recipe is better. It's sweet, creamy, has loads of vanilla flavor from vanilla paste, but also has a deep milky flavor from milk powder. If you don't have any good tasting milk powder, just leave it out.
Philadelphia Style Ice Cream
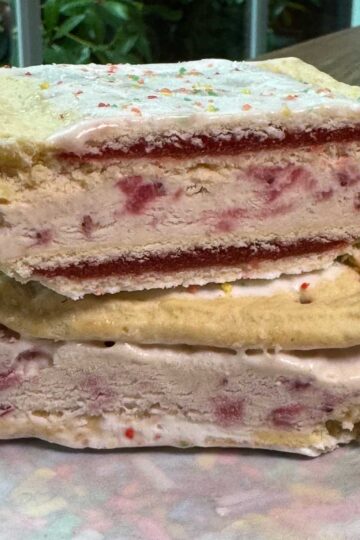
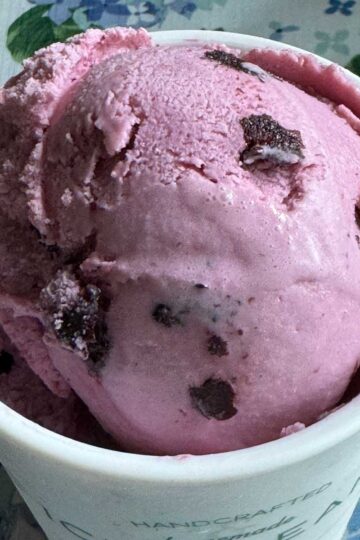
I call this no-egg or blender vanilla ice cream, but it's really just Philadelphia style ice cream. In the 1800s Philadelphia was known for innovative dairy creations, and making ice cream without eggs was considered pretty innovative. The name Philadelphia style is basically a way to distinguish it from the French style egg based custard ice creams. Without the eggs, the ice cream has a very clear, clean, dairy flavor (especially with the powdered milk) and is a particularly good base for add-ins such as Oreos.
How to Make No-Egg Blender Ice Cream
I recently bought a Vitamix blender. It works so well and is much easier to clean than any other blender, so I love using it to make ice cream. For this recipe, I just pour the cream, milk and vanilla into the blender container. Next, I mix the dry ingredients together in a little bowl, then add them to the container. Vodka, which helps keep the ice cream soft, goes in last. I blend for about a minute, sometimes a bit longer, then chill the mixture until ready to churn.
Xanthan Gum
Some people don't like using gums, but in this case the amount of gum used is very tiny. If you would rather just leave it out, the ice cream will be perfectly good, but xanthan gum improves creaminess, and scoopability. The vodka also helps with that, but the gums do a better job preventing iciness and keeping the texture super smooth. But again -- it's ice cream and will still be really good without them! Note: I sometimes double down on the gum and use half xanthan, half guar, but I'm taking out that option because I think my mention of guar gum scares people away!
Blender Vanilla Ice Cream Ingredient List
- Sugar (just regular sugar that says cane sugar on the bag)
- Xanthan Gum
- Salt
- Whole Milk
- Heavy Cream or Whipping Cream
- Nonfat Dry Milk -- Bob's Red Mill is a good one
- Vanilla Bean Paste or Vanilla Extract
- Vodka
The ingredients are all easy to find, including the xanthan gum, which is widely available now thanks to the popularity of gluten-free baking. It's pricey, but will last you a long time and is useful for other things. Guar gum is optional, but if I have it I add it. Nonfat dry milk is also handy to have around. I use Bob's Red Mill brand which tastes the best imho. As for the vanilla bean paste, you can substitute regular vanilla, but the paste makes the flavor so much better. Nielsen Massey is the best.
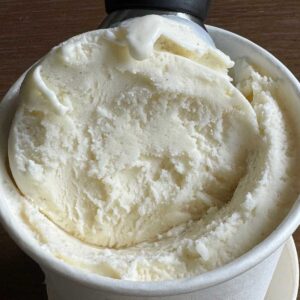
Packaging Homemade Ice Cream
If you try the Blender Vanilla Ice Cream and find yourself making it over and over, treat yourself to some ice cream containers! They're fun to use and you can decorate the cartons or make your own labels. I kept thinking I would, but never got around to it and ended up just labeling my cartons with a Sharpie. The exact cartons I bought are no longer available, but the ones I've linked to seem to be the same with the matte outside and slick coated inside.
Update: I recently bought a set of reusable ice cream containers. While the others ones are perfect for giving ice cream as gifts, these colored ones with cute tops can be used over and over at home.
Recipe
Easy No-Cook Vanilla Ice Cream
Ingredients
- 2 cups heavy whipping cream
- 1 cup whole milk
- 1 tablespoon vanilla bean paste Nielsen Massey
- ¾ cup sugar** (150 grams)
- 2 tablespoons nonfat dry milk powder
- ⅛ teaspoon xanthan gum (optional)
- ¼ teaspoon salt
- 1 tablespoon vodka
Instructions
- Put cream, milk and vanilla paste in a blender container.
- Mix together the sugar, dry milk, xanthan gum (if using), and salt, then add to the blender container. Add vodka if using.
- Blend for about a minute, then pour into ice cream maker and churn as per manufacturer's directions OR chill for a few hours, whisk again, then churn. If you have the time, I recommend chilling the mixture for at least 20 minutes before churning. Chilling gives more time for the xanthan gum and the milk powder to hydrate, and the result is usually ice cream that is a bit smoother.
Leave a Reply