
This is a new improved and very different six inch ice cream cake. The old one was a flourless chocolate cake. I made it again and felt like a) it was a little fussy and b) if I was going to eat ice cream cake, I wanted it to be more traditional. The new version has flour, but you can easily use a 1:1 gluten-free blend if needed.
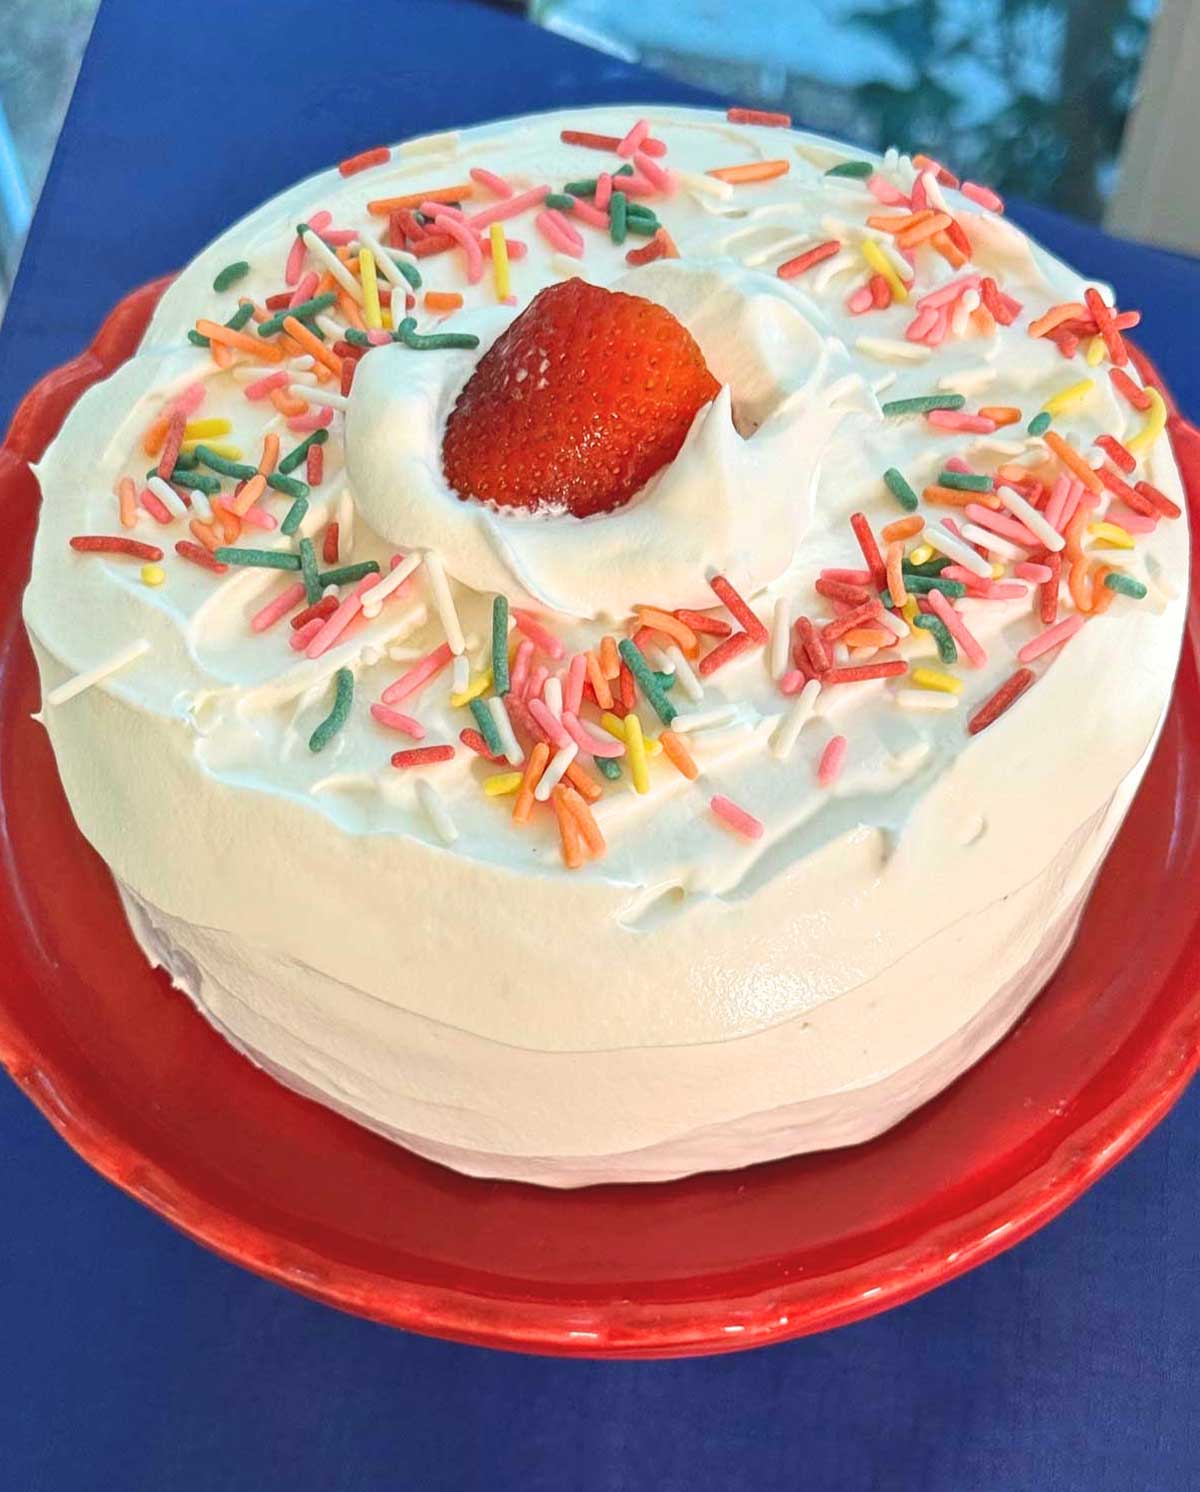
This new version is simpler, more practical, and just better overall. Instead of a delicate flourless cake, it uses one layer of a sturdy, oil-based chocolate cake that holds up well in the freezer. You don't have to split layers or worry about them sliding around. The cake is also so much easier to frost now.
Soft Cake Base
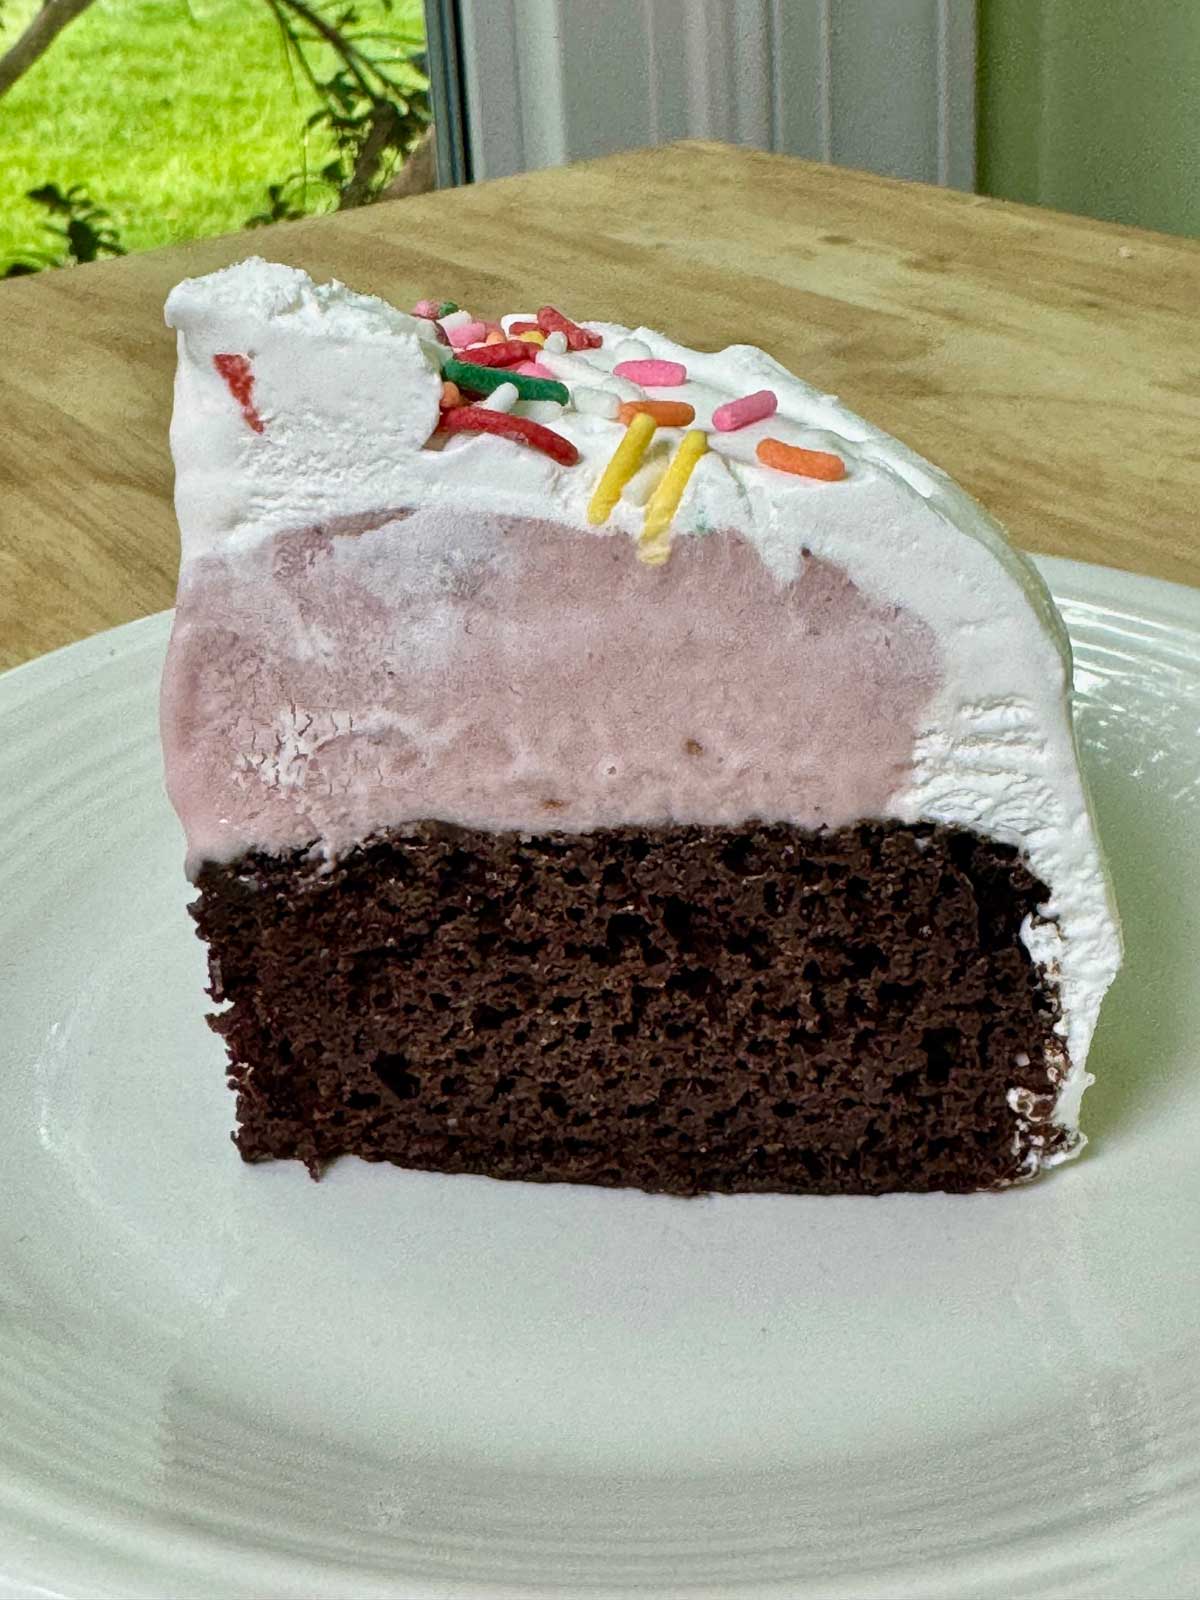
My goal with ice cream cakes is always for the cake component to stay soft when frozen. Cakes that are great at room temperature can firm up or feel a little dry when frozen. Being oil based, this one stays softer, but it also has melted chocolate in the batter, so it's still a little firm but in a good way.
Practical Size
In a household of two, a six inch size cake is just more practical. A larger ice cream cake will freeze just as well, but a benefit to the six inch size is that you only need about a pint of ice cream and you can splurge on the good stuff or use homemade. I used homemade strawberry ice cream for the one in the photos. Strawberry is the perfect flavor for this kind of cake because it goes so well with the chocolate cake and vanilla frosting.
Two Cakes in One
The ice cream cake will have one layer of cake, but the cake recipe makes two layers so you can freeze one layer for later. Having that extra layer in the freezer will make putting together a last-minute ice cream cake surprisingly easy when the grocery store has BOGO pints.
Making the Ice Cream Round
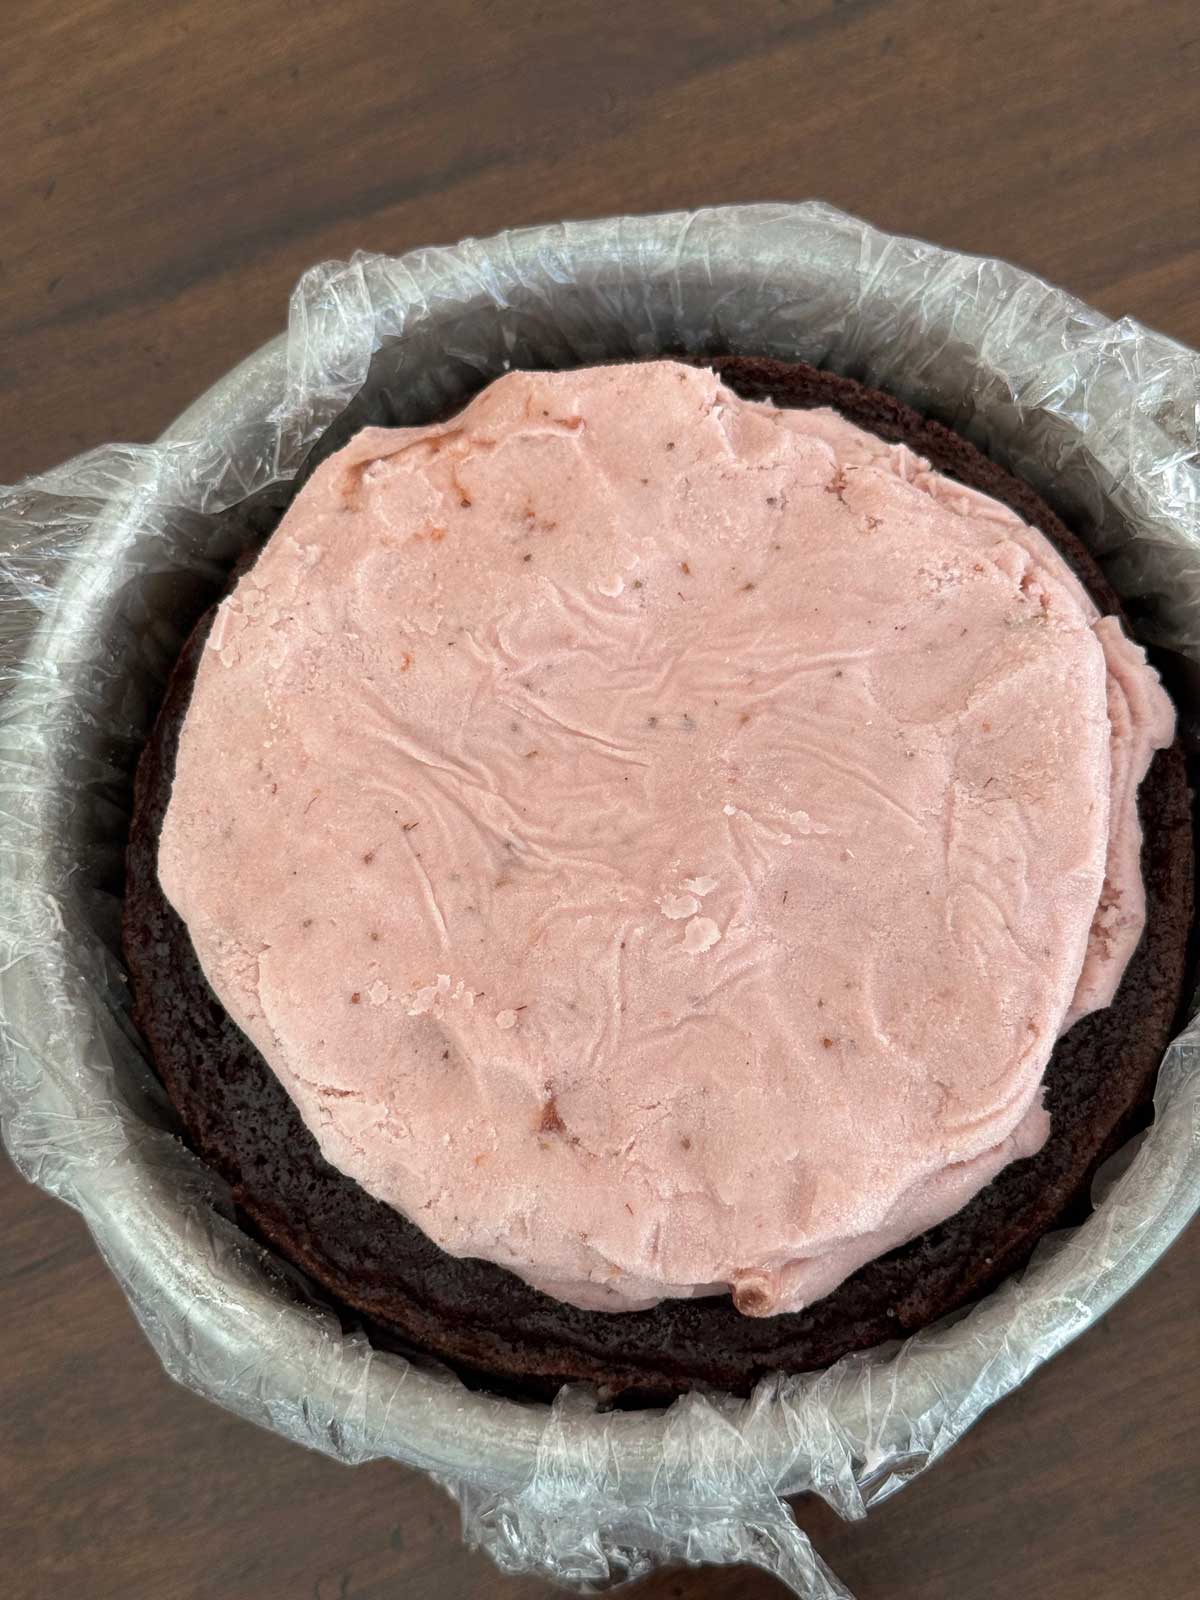
Speaking of pints, instead of scooping and spreading softened ice cream into a pan, try this! Turn a pint of ice cream on its side, cut away the carton and mash it into a circle. For a six inch size cake, you can use a whole pint or ⅔ of a pint, in which case turn it and cut about ⅔ of the way down the carton with a chef's knife. After cutting, peel away the carton and mash. Or skip this nonsense and just soften, but it's kind of fun mashing a carton of ice cream.
The Frosting
I use whipped cream with a little instant pudding mix or whipped topping, depending on my mood. Both are stabilized, so the frosting spreads easily, holds up in the freezer and stays soft enough to slice.
Architecture of Ice Cream Cake
Building an ice cream cake can feel stressful, but I've learned to follow this procedure and everything works out okay, with fewer sticky surfaces.
- Place one 6-inch frozen cake layer on a big piece of plastic wrap.
- Set a slightly smaller (around 5 inches) frozen ice cream round on the cake.
- Fill the border between the cake and ice cream with whipped cream, then spread a thin "crumb layer" of whipped cream all over and freeze again until firm.
- Confidently frost that frozen crumb layer with the rest of the whipped cream, then decorate!
That frozen whipped cream crumb coat makes frosting the final version so much easier. Just don't skip the extra freezing steps to keep things neat.
A Few Helpful Tips
- Make sure both the cake and ice cream are fully frozen before assembling
- Don't skip the freezing steps because they're what keep everything neat
- Let the finished cake sit at room temperature for about 10 minutes before slicing.
- Try it with different ice cream flavors, this is one of those recipes that's fun to change up.
Recipe
Six Inch Ice Cream Cake
Ingredients
Ice Cream
- 1 pint ice cream
Cake Layers
- ½ cup brewed coffee
- 2 tablespoons bittersweet or semisweet chocolate chips or chopped chocolate
- ½ cup unsweetened natural cocoa powder (42 grams)
- ¼ cup neutral good quality vegetable oil (50 grams) -- I go by weight
- 1 cup sugar (200 grams)
- 1 large egg
- ¾ teaspoon vanilla extract
- ½ cup buttermilk
- ¾ cup plus 2 T. all-purpose flour (105 grams)
- ¾ teaspoon baking soda
- ¼ teaspoon baking powder
- ⅜ teaspoon salt
Stabilized Whipped Cream Frosting or Ignore and Use Whipped Topping
- 1 cup heavy whipping cream
- ⅓ cup powdered sugar
- 2 teaspoons instant vanilla pudding mix
- 1 teaspoon vanilla extract
Instructions
Prepare Ice Cream Circle
- Prepare your ice cream circle. Turn a pint of your favorite premium ice cream on its side and use a chef's knife to cut it about ⅔ of the way down OR leave it whole if you want a thicker layer. Peel away the carton and ice cream on a piece of plastic wrap. Mash it down to make a 5 ½ inch circle or one that's just slightly smaller than your cake. Wrap tightly and freeze for at least 2 hours or until very firm.
Make the Cake -- Stirred Together in Saucepan, so Use Big One
- Preheat oven to 300 degrees F. Grease and flour two six-inch round cake pans.
- Combine the chocolate and hot coffee in a large (3 quart) saucepan and stir with a heavy duty scraper until chocolate melts and mixture is smooth. Add the cocoa powder and stir well, then remove from heat and stir in the oil and sugar. Add the egg and vanilla and stir until smooth.
- Whisk the flour, baking soda, baking powder and salt together in a bowl. Add to the chocolate mixture, alternating with the buttermilk, and stir with your trusty heavy duty scraper until batter is mixed. The batter may not be perfectly smooth, but do try to mash out any lumps of flour.
- Divide the batter between the two pans. You can eyeball it, or set the pans on a scale, set tare to "0" and put 12 oz in each pan.
- Bake at 300 degrees F on center rack for about 45 minutes or until cakes spring back when touched.
Cool and Freeze the Cake
- Let the cakes cool slightly, then remove from the pans. Let cool a little more, then wrap in plastic wrap and freeze for 2 hours or until very firm.
Make Stabilized Whipped Cream
- In the bowl of a stand mixer or with an electric mixer, beat cream until it just starts to thicken. Add the confectioners' sugar, instant pudding mix and vanilla and beat until stiff peaks form. Transfer to a piping bag if you have one or just use a spoon.
Assembly
- Lay a large piece of plastic wrap on the counter.
- Put one of your frozen chocolate cake layers in the center. Unwrap your ice cream circle and set it on the frozen cake layer.
- Spread or pipe whipped cream around the border of the ice cream so that it's even with the edge of the cake, then cover the whole thing with whipped cream to make a "crumb layer". Wrap tightly and freeze until very firm. Store remaining whipped cream in the refrigerator.
- Once crumb layer is frozen solid, spread remaining frosting over it and decorate. You can return to the freezer and serve when needed or just decorate and serve. If you freeze the decorated cake for several hours or until it is very solid, let it stand for about 10 minutes before slicing.
Anna says
Judy, I just use this one. https://www.southernkitchen.com/recipes/dessert/marshmallow-whipped-cream
Judy says
What is your recipe for the whipping cream marshmallow fluff frosting, please share?
Sue says
That ends up looking really pretty and it sounds delicious. Also a great make ahead although there probably isn’t a lot of need for make ahead six inch cakes.
I understand the being in a mood regarding your ice cream choice. I’ve also felt that way. I wonder if it’s a bit of a survival instinct? Even though we’re fine!!!!!
Sonya says
YUM!!!