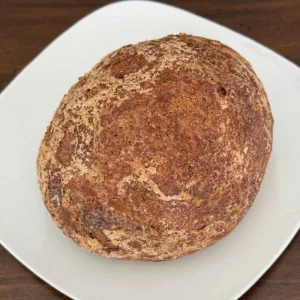
This teff bread is a round (boule) shaped gluten-free loaf with the chewy texture of an artisan bread and the earthy flavors of teff. Like most gluten-free breads, it's made with a mixture of flours. So along with the teff it has tapioca starch, brown rice flour and psyllium husks. All four work together to make a loaf that is stretchy and chewy like a regular wheat loaf with an interesting flavor. You can taste the teff, a little peanut butter and in some cases a hint of molasses.
Jump to Recipe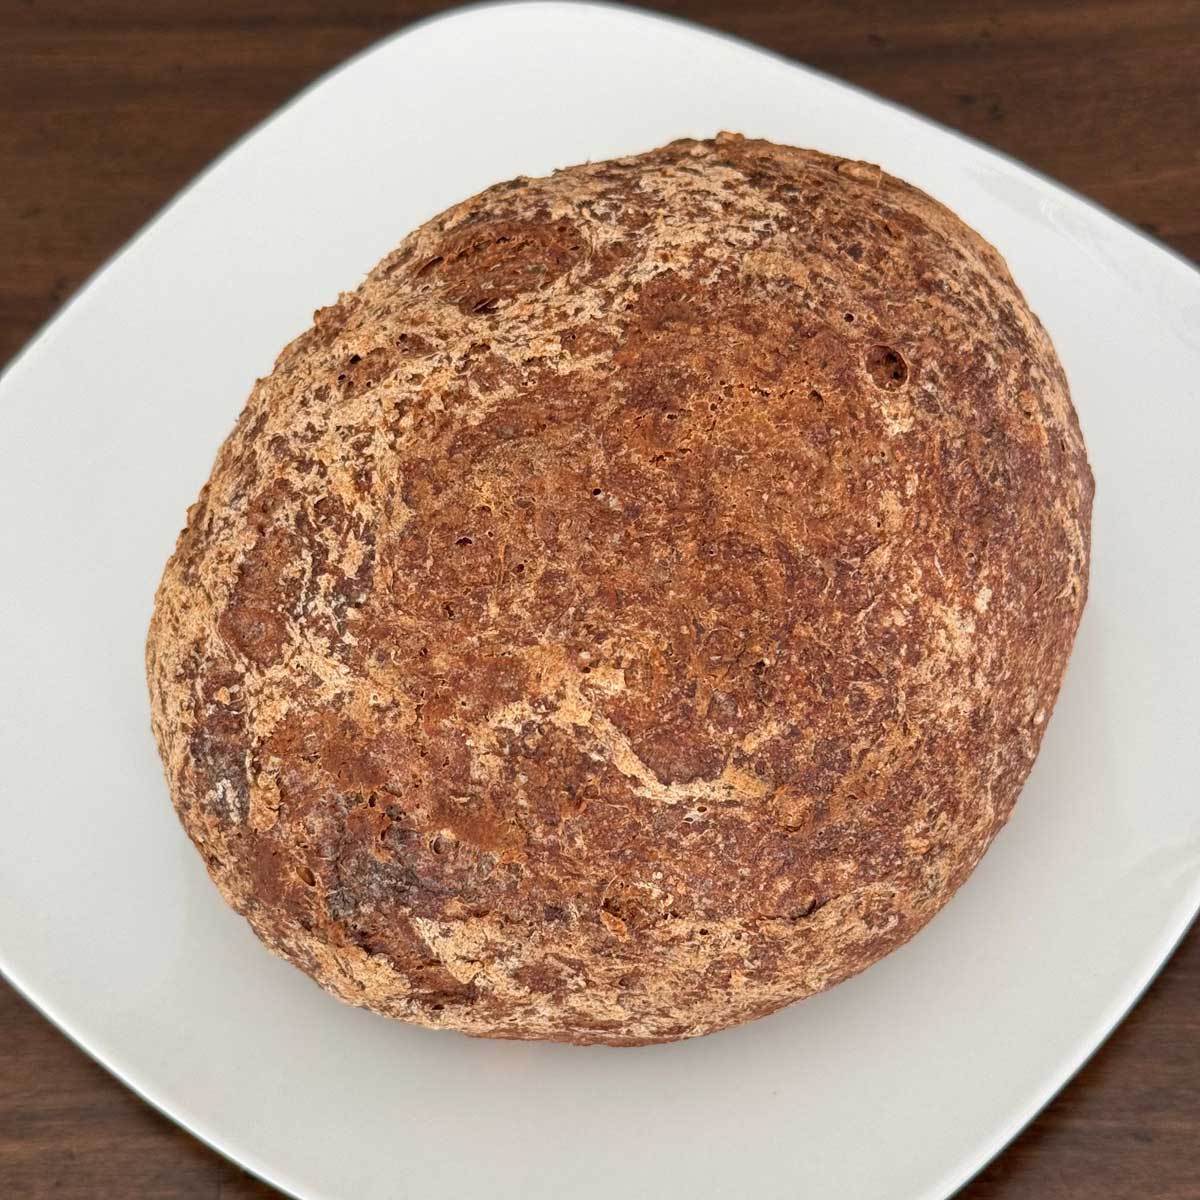
Boule Loaf Size
This is a smaller sized boule, and with gluten-free breads it's always a good idea to try the smaller size first. If it works out well for you, you can double. I just like to keep loaf sizes small because there aren't a lot of us to eat all the bread and I enjoy making them over and over. So this has been tested quite a few times. I always use the gram measurements, but I added the volume amounts as well.
Avoiding Gumminess
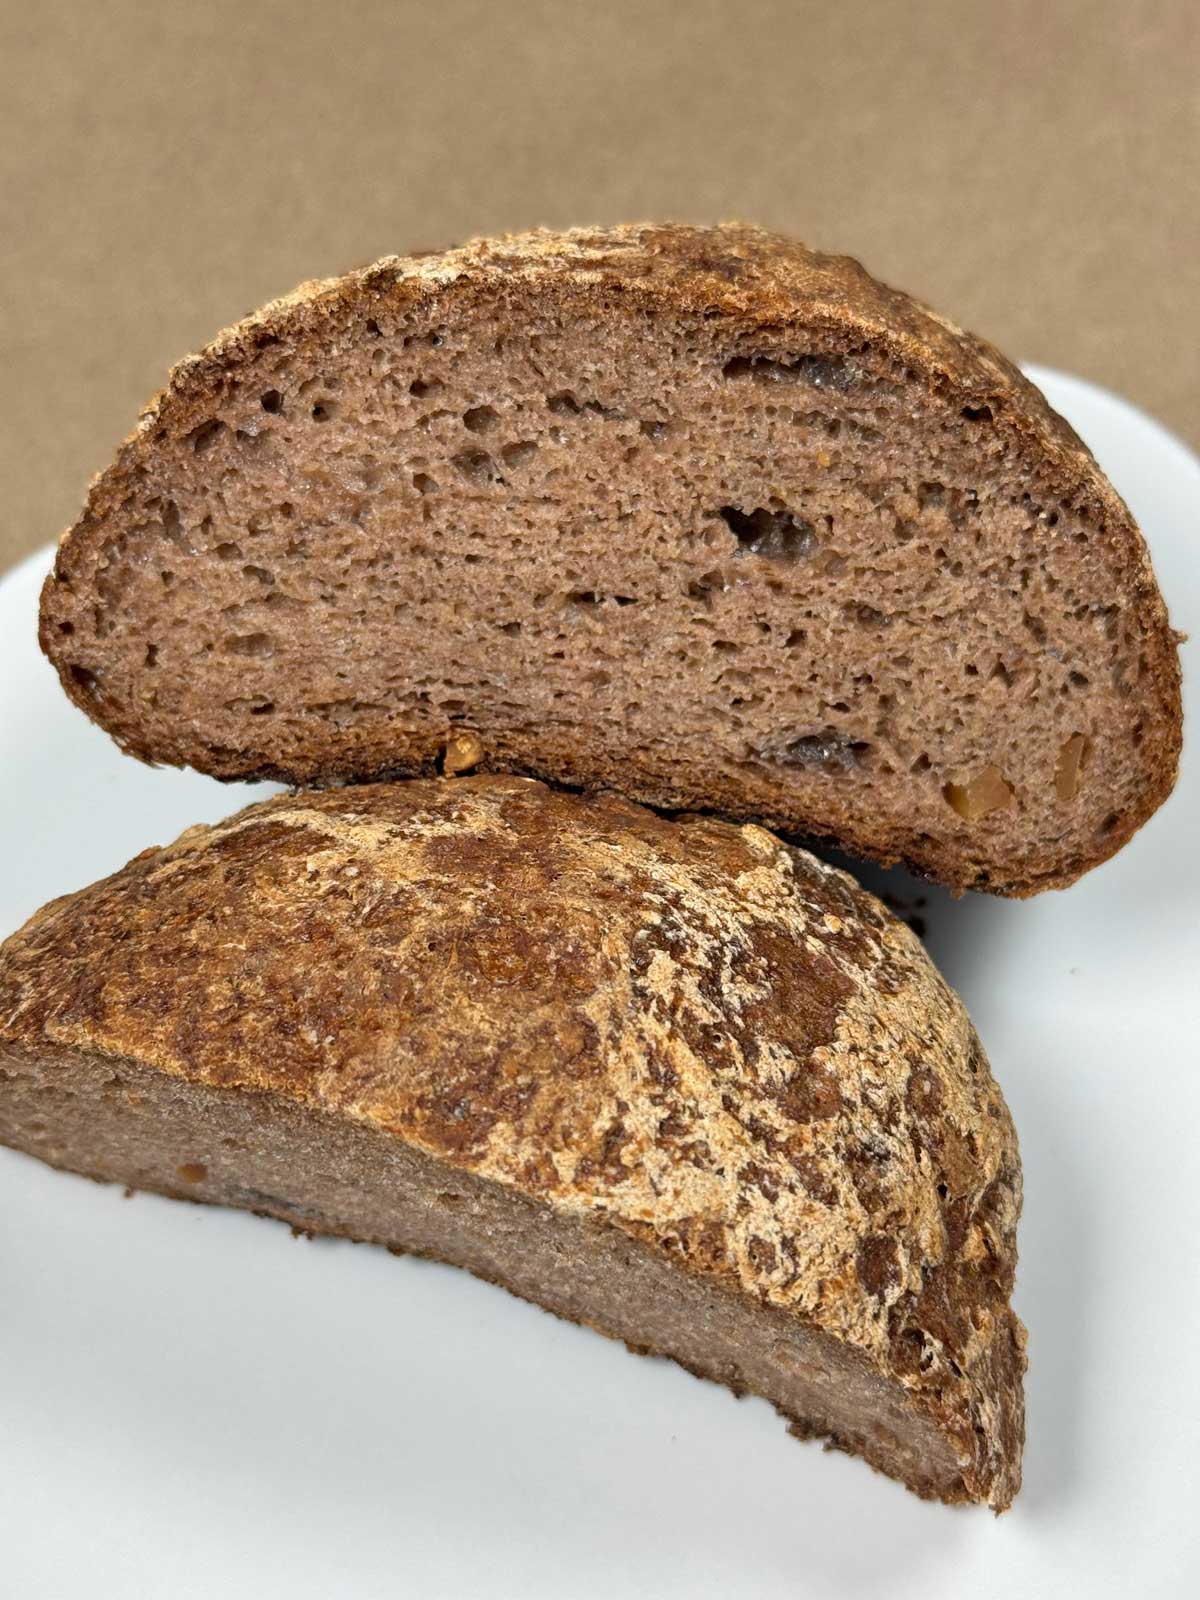
There are two common issues that come up when making gluten-free bread. It can fall flat and/or have a gummy interior. I've had both happen with teff bread, and it was all a matter of using too little flour or not mixing the dough long enough. I get the best results when I hydrate the dough just right, mix with a paddle to enhance the elasticity of the psyllium and use a high temperature bake followed by standing time. The texture should be chewy, fine-crumbed and soft with little chunks of peanut from the crunchy peanut butter ( you can see them in the photo).
Other Ingredients (Peanut Butter)
The teff flour and others make up the structure, but there are some other ingredients there for flavor including brown sugar, vinegar, sesame seeds and peanut butter. For the peanut butter, one tablespoon is all you need, and you can use crunchy or creamy. I use crunchy and love the little bits of peanuts scattered throughout. If you don't want any peanut flavor you can use ½ tablespoon of olive oil. Lately I've been adding 2-3 grams of molasses, which also adds flavor.
Equipment
I use a stand mixer with a paddle attachment to mix the dough. Beating the dough with the paddle attachment helps improve the elasticity of the psyllium gel. If you don't have a stand mixer with a paddle attachment, you can work the dough with your hands, however it will be a bit sticky so you might need to do it over a mat with some rice flour. I always use the paddle.
What Causes Flat Loaves?
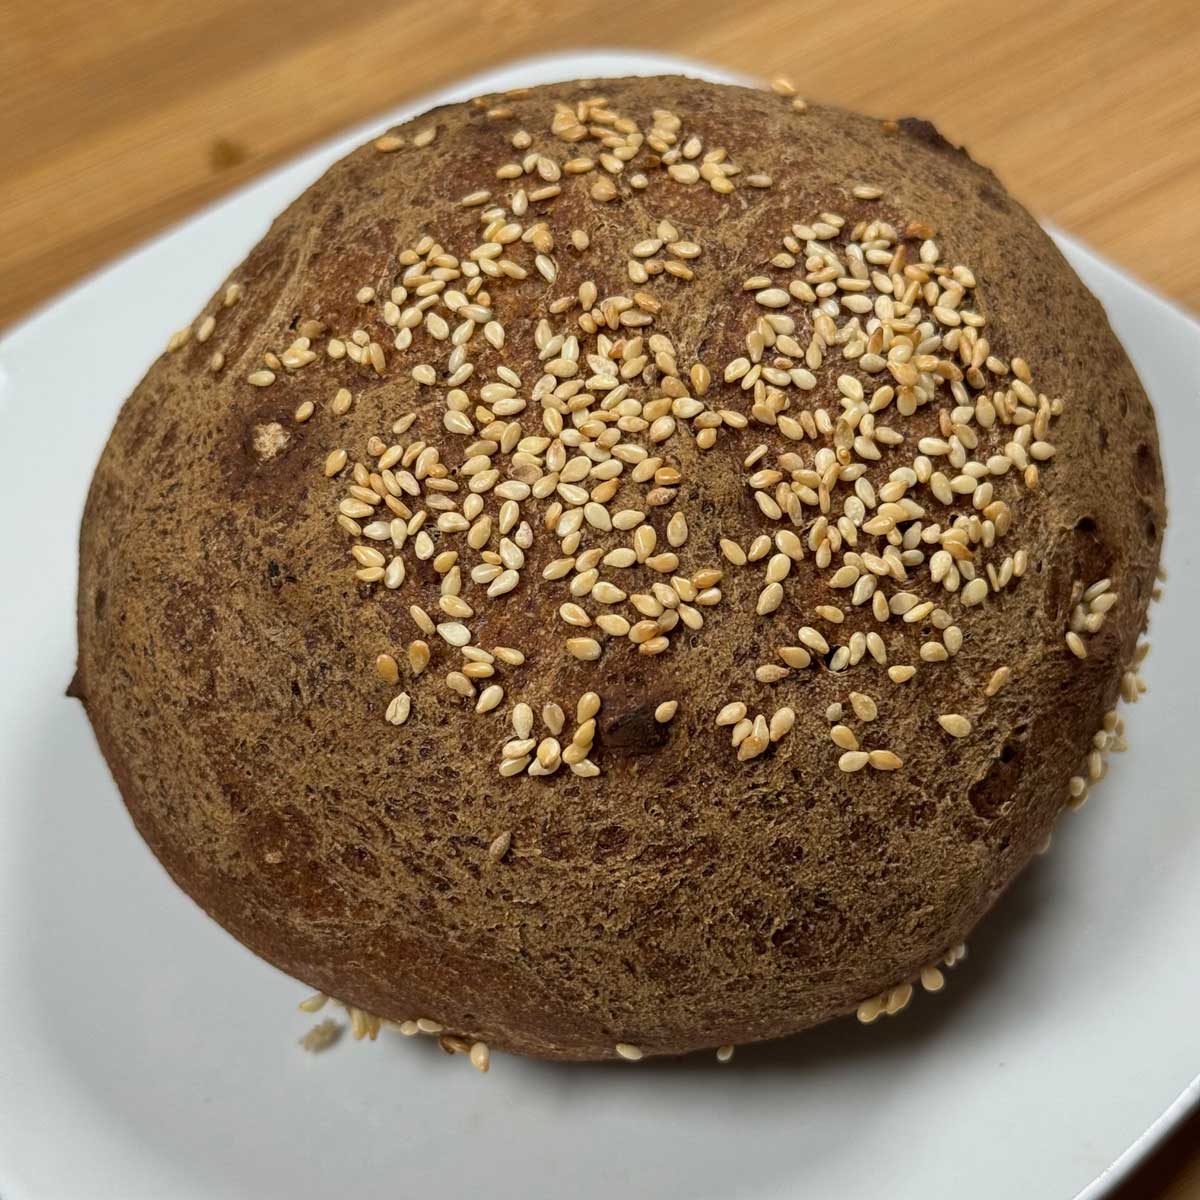
There are a few different reasons loaves when baking including too much moisture, too high heat and over-proofing the yeast. I'd made this recipe dozens of times, then one day I tried to double it and my loaf was flat. It tasted good, but wasn't round. I baked a second loaf and made the following changes. I switched to active dry yeast, which I proofed in 115 degree water before adding to the psyllium. I also was careful to only let the loaf rise for 35 minutes. The second large loaf was perfect. So I recommend making the recipe as written (small loaf) before doubling. If you do decide to double, consider making the changes above.
Recipe
Gluten-Free Teff Bread
Ingredients
- ½ cup teff flour (85 grams)
- ½ cup tapioca starch (60 grams)
- ¼ cup brown rice flour (30 grams)
- 1 ½ tablespoons brown sugar or use white sugar and add 2-3 grams of molasses (16 grams)
- ½ teaspoon salt plus a pinch
- 1 teaspoon quick rising yeast (I use SAF gold label) (4 grams)
- 2 tablespoons psyllium husks (not powder, but whole husks) (12 grams)
- 1 teaspoon vinegar
- 6 to 7 oz water (130 F) (182 grams)
- 1 tablespoon peanut butter OR ½ tablespoon olive oil
- ½ tablespoon sesame seeds (optional)
Instructions
- In the bowl of a stand mixer, combine the teff flour, tapioca starch, brown rice flour, sugar, salt, and yeast. If you are using white sugar and molasses, just put in the white sugar and put your dab of molasses on top.
- Put the psyllium in a second medium size bowl.
- Heat 7 oz of water to 130 degrees F. Pour exactly ½ cup (4 oz/114 grams) of warm water into the bowl with the psyllium and stir to make a gel. Add the vinegar to the gel.
- Add the psyllium gel to the flour mixture along with the peanut butter Give the mixture a stir. It should be dry and crumbly. Add 2 oz water gradually, stirring by hand until it's cohesive, but still dry and crumbly. You should have an oz or so of water left at this point.
- Put the mixer on the stand and use the paddle to mix. It should come together and will most likely still be a little dry. If mixture seems dry, add the last tablespoon or 2 of water and continue to mix with the paddle. It should pull away from the sides of the bowl and be thick enough to shape, but shouldn't feel dry and crumbly. It might snap into two pieces, which is fine. You should be able to hold it in your hand and slap them together. If this is impossible, add a little more water.
- Turn the dough onto a pastry mat lightly dusted with rice flour or just an oil slicked mat. You can even skip the mat if you want to and just shape in your hands. Shape into a ball the best you can.
- Knead the ball gently. It should be bouncy and only slightly sticky.
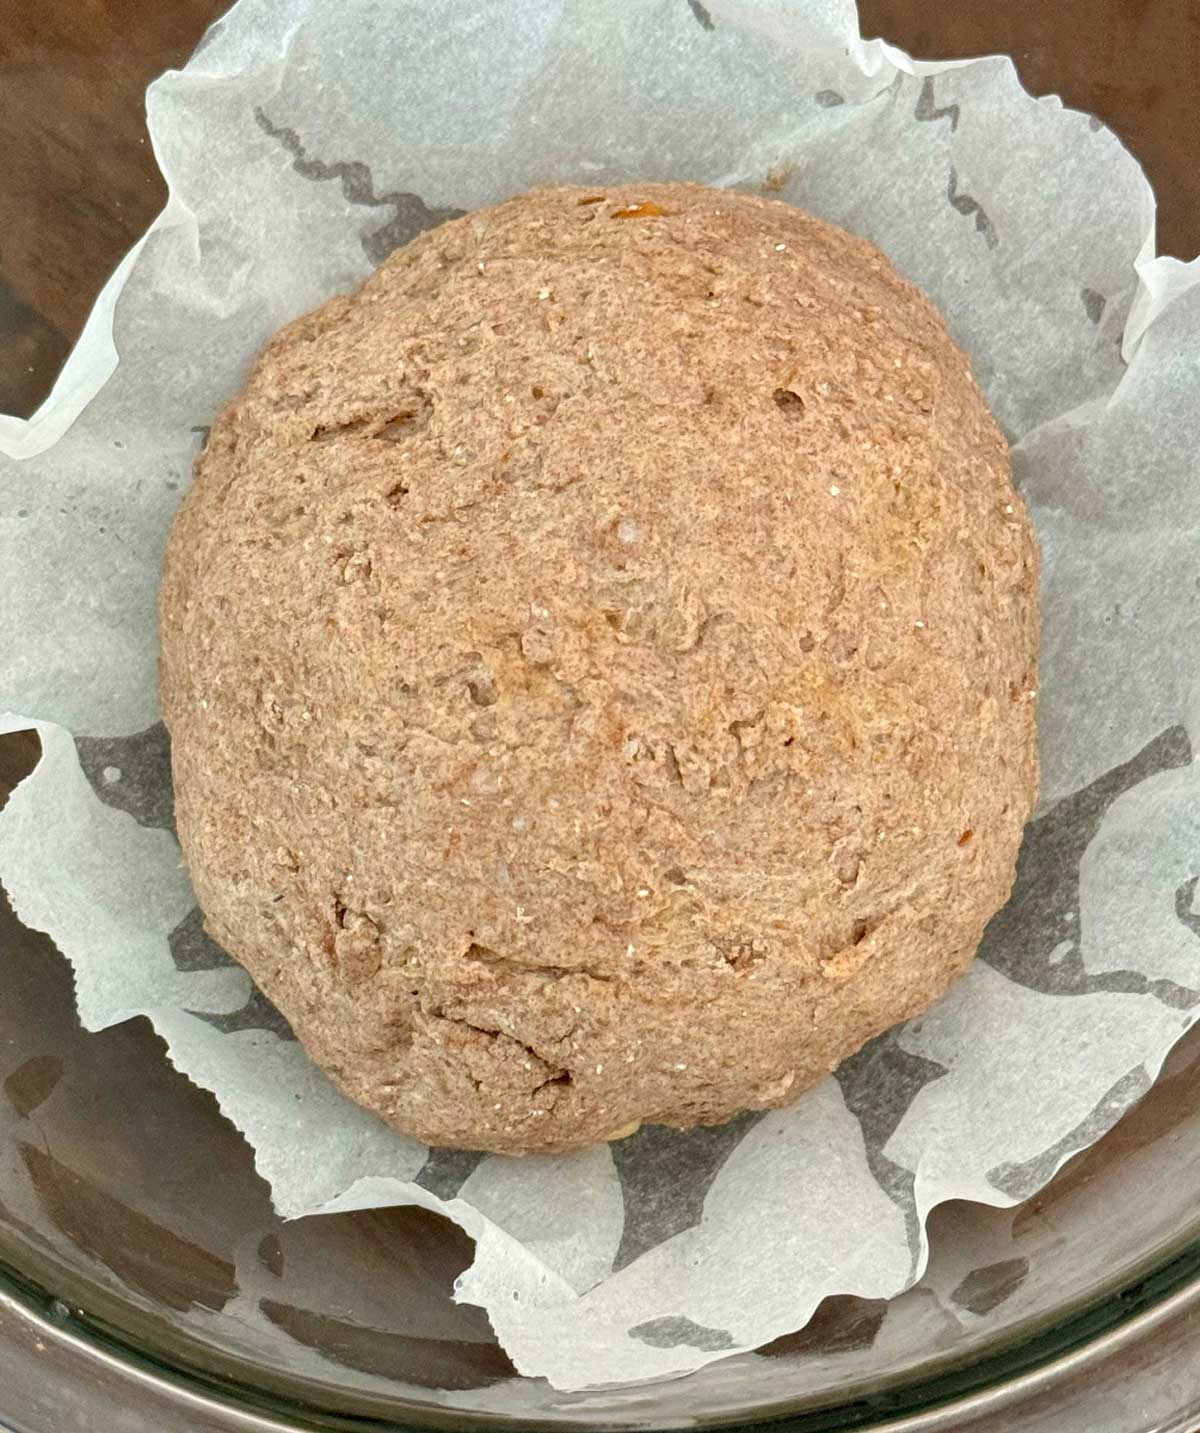
- Scrunch up a piece of parchment paper and press it into a 1 ½ liter or so glass bowl. Cover with a piece of greased plastic wrap and let rise for about 35 minutes. It will not double, but it will puff up substantially. If you are using the sesame seeds, pat them gently on the top of the boule.
- While the dough is rising, place a Dutch oven and its lid on in the oven and preheat the oven to 450 degrees F. Note: If your oven is really slow to preheat, you will need to do this earlier in the process since the dough only needs 35 to 40 minute sto rise.
- Carefully remove the hot Dutch oven from hot oven and set on a cooling rack or safe spot. Lift the parchment paper with the dough and set it in the hot Dutch oven. Cover with the lid and return pot to the oven. Close door and set timer for 25 minutes. After 25 minutes, remove lid from the pot and bake for another 20 minutes or until bread is browned and crusty.
- Turn off oven. Remove the loaf from the Dutch oven and set the loaf (no parchment) directly on the oven rack. If you are worried about sesame seeds falling off, you can put a baking sheet on the lower rack. Leave it in the closed oven for about an hour. This helps dry up any excess moisture that could contribute to gumminess.
- Let cool completely before slicing. This is very important.

Leave a Reply