
Two things I'm not good at are singing and cake decorating. Apparently there's a third which is giving flag cake instructions, because I went back and read this and got lost. Since it's almost July, 4, I rewrote the flag cake instructions for anyone who lands on this Hidden Flag Cake "recipe". I will say, the frosting is good, which is why I only put that in the recipe card.

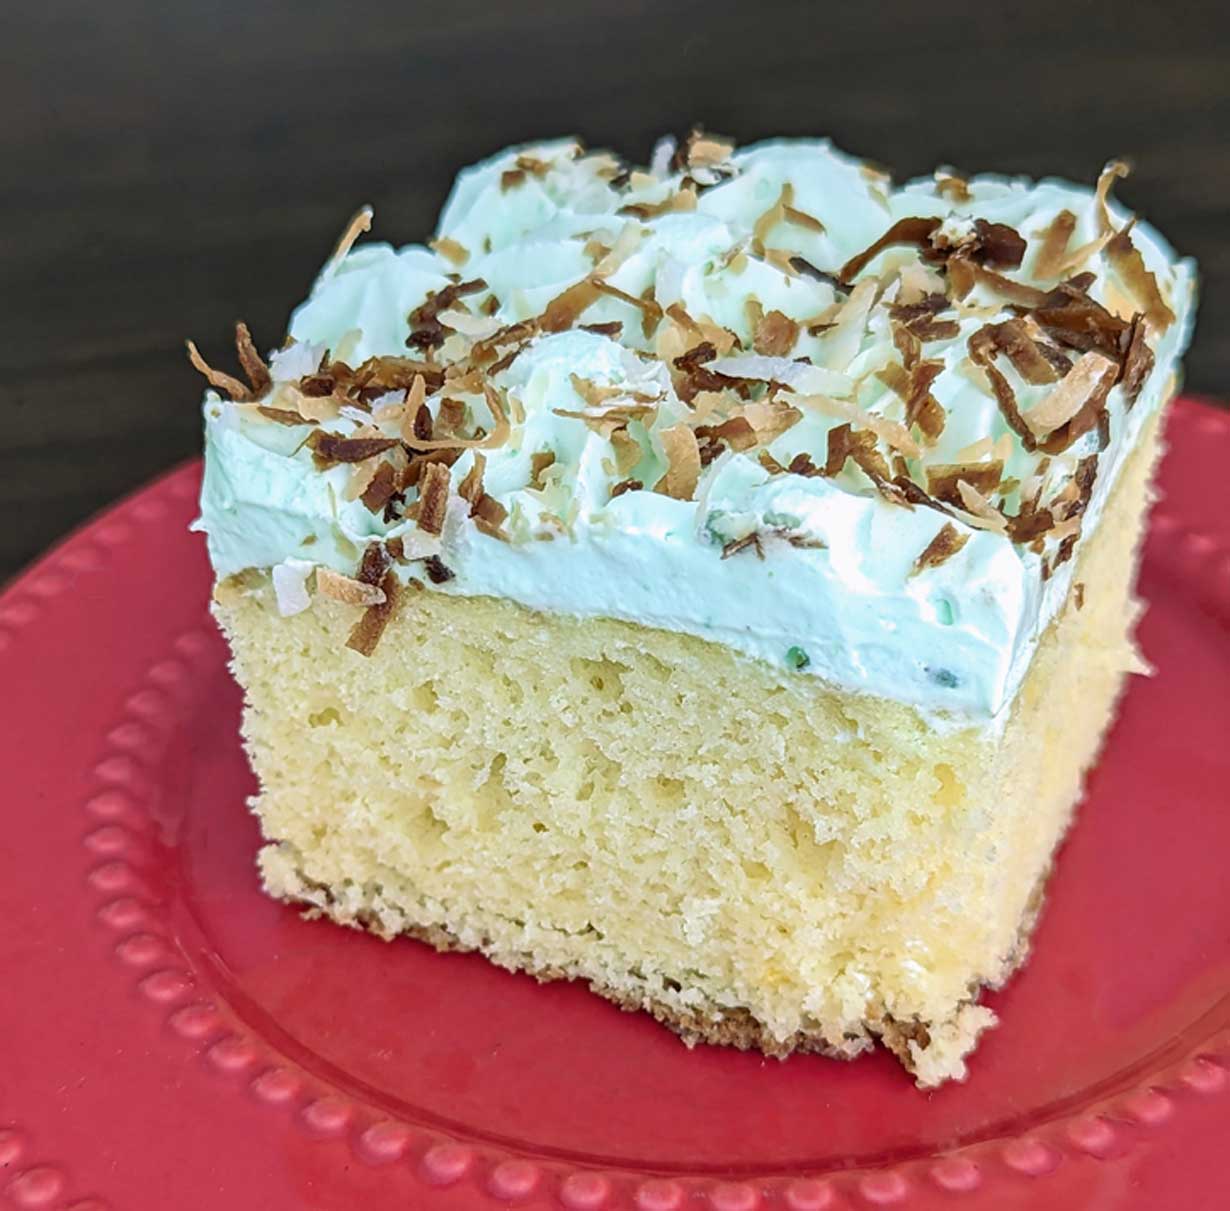
New Flag Cake Photo
Here's the new cake. I originally found it on a blog called 17 and Baking, which Elissa kindly left up for the past decade. She hasn't updated in a while, so I've typed up a rundown on how to put it together along with some things I've learned along the way. YouTube probably has 100 better tutorials than this, but thanks for reading anyway.
Hidden Flag Cake Instructions
What You'll Need
- 2 boxes of white cake mix plus enough ingredients called for of whatever brand you use. They're all equally bad. Just kidding! I actually like cake mix cakes. I used Wal*Mart for this one. Baker's Corner is not bad either. I use whatever is on sale
- 3 9x3 inch round cake pans. The depth is important
- Good quality food color in Royal Blue and Super Red. Regrettably, these were not what were used for the photos. More on that later. I do think it's nice we have all these brands to choose from on-line and aren't stuck with the little pastel egg colors they sell at the grocery store
- The recipe for Whipped Cream Cheese Icing in the card below
Step One
Using 2 boxes of white cake mix plus ingredients on box, make the batter as instructed and divide into three parts. Dye 1 part blue, 1 part red and leave one white. Put each color in a pan and bake at 325 degrees rather than 350 for a longer, slower, baker. These cakes are thicker, so baking slowly should help them bake more evenly. Once baked, let cool, then put in the freezer until partially frozen (for easier carving) or freeze ahead of time and let thaw until carveable
- I used cake mix. This recipe would work for scratch cakes. I'm thinking if you already bake white cakes from scratch you probably make better flag cakes than I do already.
- With the 3-inch high cake pans you can make each layer fairly tall. Also, the higher sided cake pans will help keep the layers from doming quite as much, as does baking at a slightly lower temperature than suggested on the box
Step Two
Take out all of your partially frozen cakes. Set aside the blue layer. Using a serrated knife, slice both the red layer and white layer in half so that you have two white layers and two red layers. This is the tricky step (for some of us). They need to be even.
- A cake splitting tool is useful, but you can also attempt to freestyle it
- Save your cake trimmings in a zipper bag. You can crumble them and use them to garnish another dessert
Step Three
Take the thick blue layer, one split layer of red and one of white and stack them. Cut a 4 inch hole in the middle of the stack. You'll have three circles and three rings. Reserve the red and white rings and the blue circle for another use.
Step Four
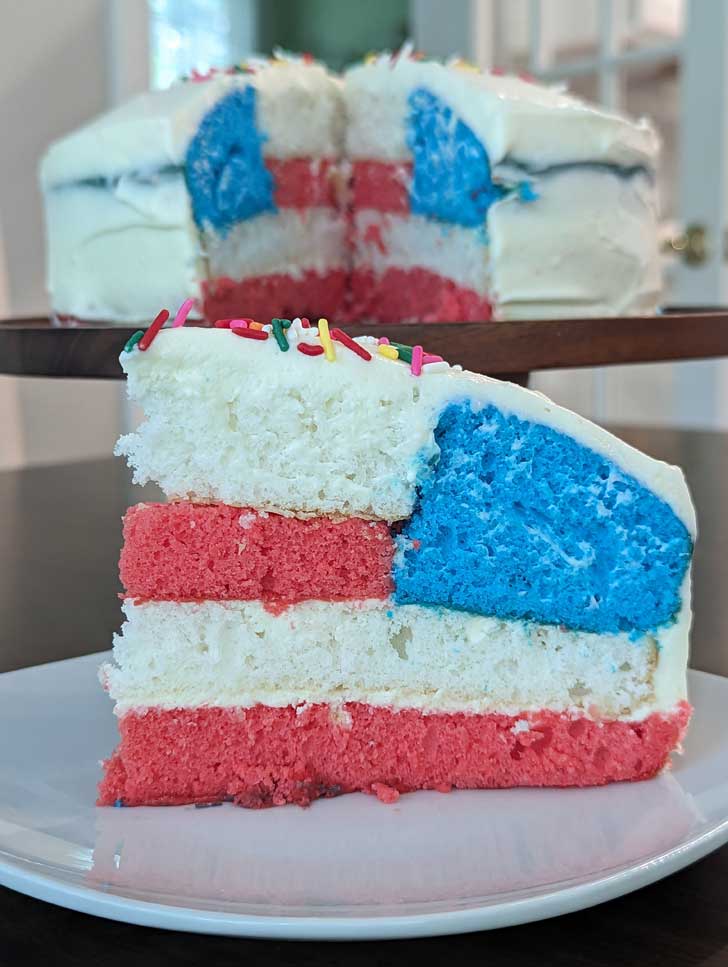
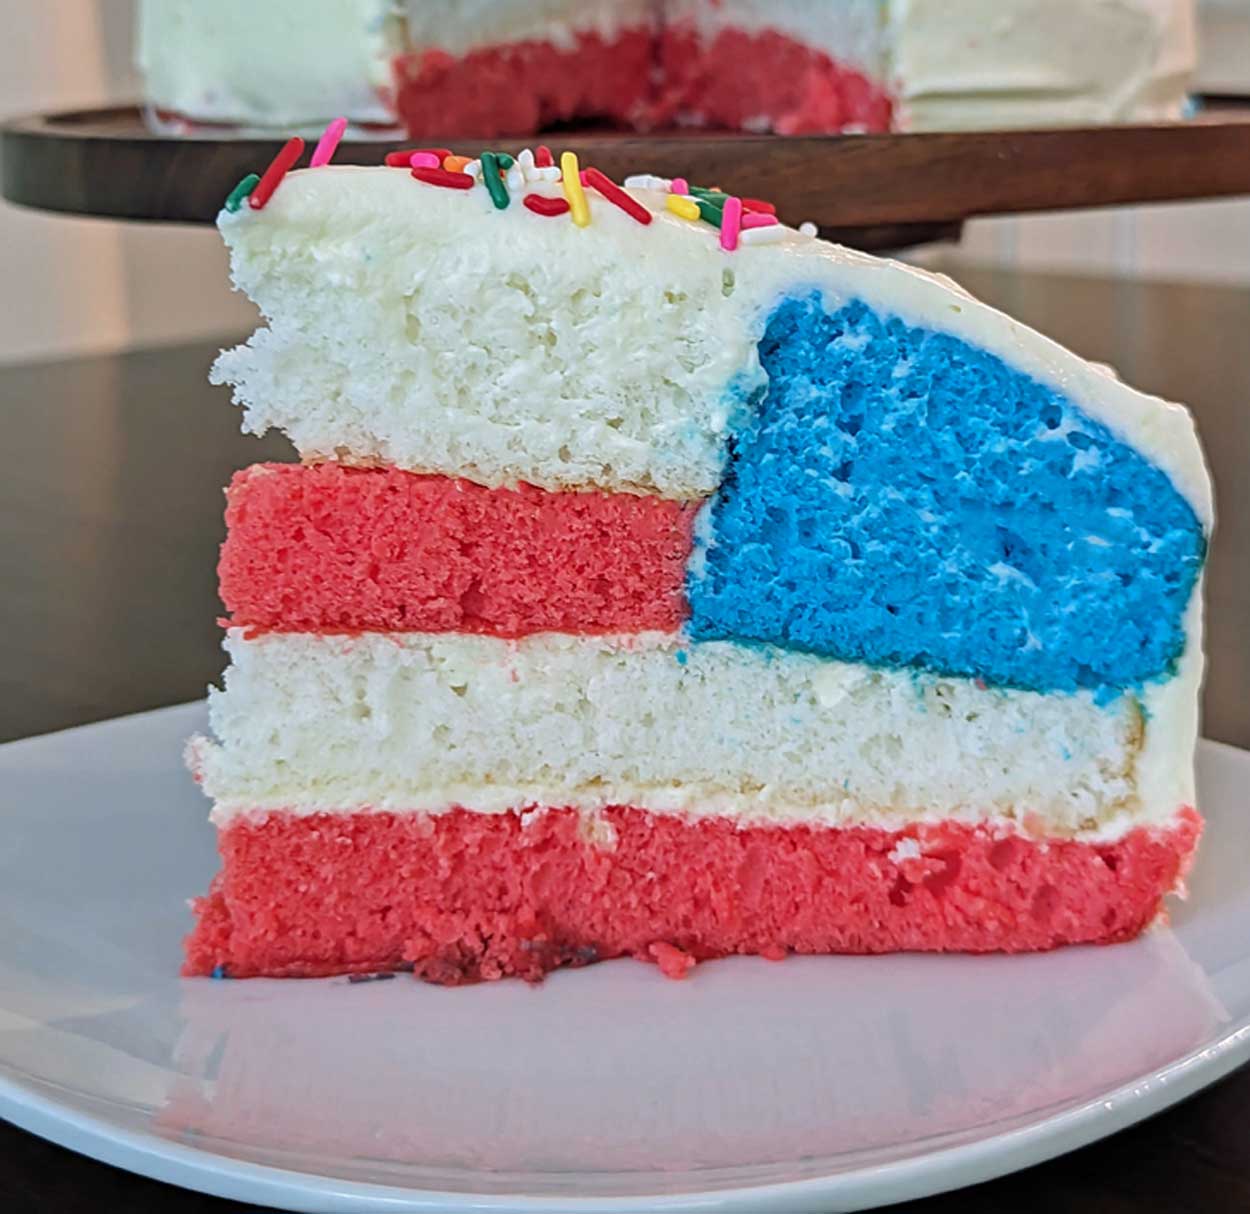
Assemble! Set one white layer on a plate and frost with a very thin layer of frosting. Stack the uncut red layer on top and frost. Set the blue ring on the red layer, then stack the white and red circles in the center of the blue ring. Frost the cake.
- Note: The original directions said to put a thin layer of icing on the inside of the blue ring to help it stick, but it looks better without it and the cake should still stick.
- The Whipped Cream Cheese Icing is light and easy to spread. Yay!
Whipped Cream Cheese Icing
If you read all of this and don't want to attempt the carving, you can just make three pans of white cake mix, dye one red, one blue and leave one white. That's also kind of a hidden flag, right? Then you can frost it with this reliably good icing.
Recipe
Whipped Cream Cheese Icing
Ingredients
- ½ cup heavy cream cold
- 8 oz cream cheese softened
- 2 oz unsalted or salted butter softened
- 2 cups confectioners’ sugar
- 1 teaspoon vanilla
- 1 teaspoon lemon juice fresh
Instructions
- In a mixing bowl, beat the whipping cream until stiff peaks form and set aside.
- In a second bowl, beat the cream cheese, butter, confectioners’ sugar, vanilla and lemon juice until creamy.
- Stir the whipped cream into the cream cheese mixture.
Debbie Fabre says
I love this Anna. I must do it for the next patriotic holiday!! Good job.
Linda says
I just finished baking the layers, and here's what I found...I did add a touch of black food coloring to the blue batter and it did make it a nice dark blue. Anna, as usual, was correct about the non-pariels. I took a bit of the blue batter, divided it into three, added silver mini n.p. to one, white mini n.p. to one, and white "jimmies" to one; and baked each in a mini foil cup. The jimmies and the silver n.p. pretty much disappeared into the batter, the white ones did hold up but because of the randomness of the distribution, they just looked odd, so I baked the layer with no additions. The full layers are cooling right now, and I will say that they look awfully thin. I made a white cake from an old Betty Crocker cookbook, and I chose it because of the 4 recipes I looked at, this one had the most flour and sugar, thinking that would end out giving me the most cake. I will be sure they're very cold before I split them, but I'm a bit concerned about how thin they'll be. I don't plan to do that until tomorrow, so I have time for "Plan B" if it doesn't work out.
Anna says
Wow, I'm interested in seeing how this works out.
Linda says
That's what I thought I'd do. I'm also going to add just a scootch of black food coloring to the blue to make it darker, also as part of the experiment. I'll let you know what happens
Anna says
Linda, it's an interesting idea, but I don't think they'd sparkle or really stand out. Maybe you could put some in a small portion of the blue cake for an experiment.
Linda says
This is so neat! I'm going to give it a try and take it to our friend's annual party. For at least the last 25 years, pretty much the same group gathers in their backyard to watch the Town's fireworks display, preceded by appetizers and followed by dessert, which has always been my "job". I'm wondering if it would work to add some mini-nonpariels to the blue batter to get a "starry" effect. I have silver and white. The white may take on the blue coloring though...what do you think?
LisAway says
Wow, Anna. IMO yours looks better than 17's AND Duncan Heinz. Seriously. If I decide to attempt this I will try to make the same mistakes you did. 🙂
Martha in KS says
You are such a fabulous baker (or bored silly with your family gone). Well done!
Amy @ What Jew Wanna Eat says
Such a cool cake! I'm definitely going to try this.
Dorothy @ Crazy for Crust says
That's a gorgeous cake! Love it, so pretty!
Kim F. says
Awesome!
Katrina says
Looks great and I don't anyone who'd see yours and think it doesn't look very good.
Sue says
Very patriotic! I'm impressed!!
Anna says
I got a little confused too. You're supposed to make three layers in 9 inch round pans, dye one blue, one red and leave the third white. You set the blue layer aside, then split the red and white layers horizontally so that you have 2 thin layers of red and 2 thin layers of white. Where things got confusing was the stacking and cutting.
You set aside one of the thin layers of white and one of the thin layers of red to be your two base layers. Next, you stack the remaining thin layer of white and thin layer of red on top of your un-cut blue layer. With a knife, you make a donut hole like cut in the middle, the point of which is to give you three big rings and three small circles (the doughnut hole, so to speak). You discard the red and white ring and the blue middle, then assemble by stacking your original white and red bases, and the blue ring. Then you take the little red and white donut hole cut outs, slice them, and stack those in the middle of the blue ring.
I screwed it up by accidentally stacking ALL The layers and cutting the big donut hole hole through all of them. I fixed it by just squashing the cut out circles back into the base circles.
Here's a tip for anyone else who wants to try this. Make sure your cake layers are very cold before you do any slices. They're much easier to work with that way. You may want to even freeze the rings before assembling. That is, cool, cut, freeze on parchment lined baking sheets, then do your building and frosting.
Cheryl, I think the red velvet stripes would be okay. I can't remember just how vivid-red cake mix red velvet is, but it would probably still resemble a flag. Using strawberry and adding a little more red paste would give you a nice, bright, shade of red.
Also, make sure to use Wilton paste and not the grocery store type. I used Royal Blue and Red-Red.
Cheryl says
Wonder how the red layer would look from a red velvet cake recipe? Dunican Hines suggests their strawberry cake mix for the red layer.
Chewthefat says
I agree with Louise--not only is that spectacular, but it looks even better than the cake in the linked recipe!
I found the assembly instructions a bit confusing in the link, although the photograph of the cake being assembled was pretty decent about showing how to do it. This is truly an impressive cake!