
This is one of my go-to everyday gluten-free whole grain bread recipes. It's made with a blend of teff flour, brown rice flour, sweet rice flour, flax and psyllium, so there's plenty of fiber. It's perfect for toasting and just slightly sweet, so really good with peanut or almond butter. It's also easy to make, but there's a catch.
Jump to Recipe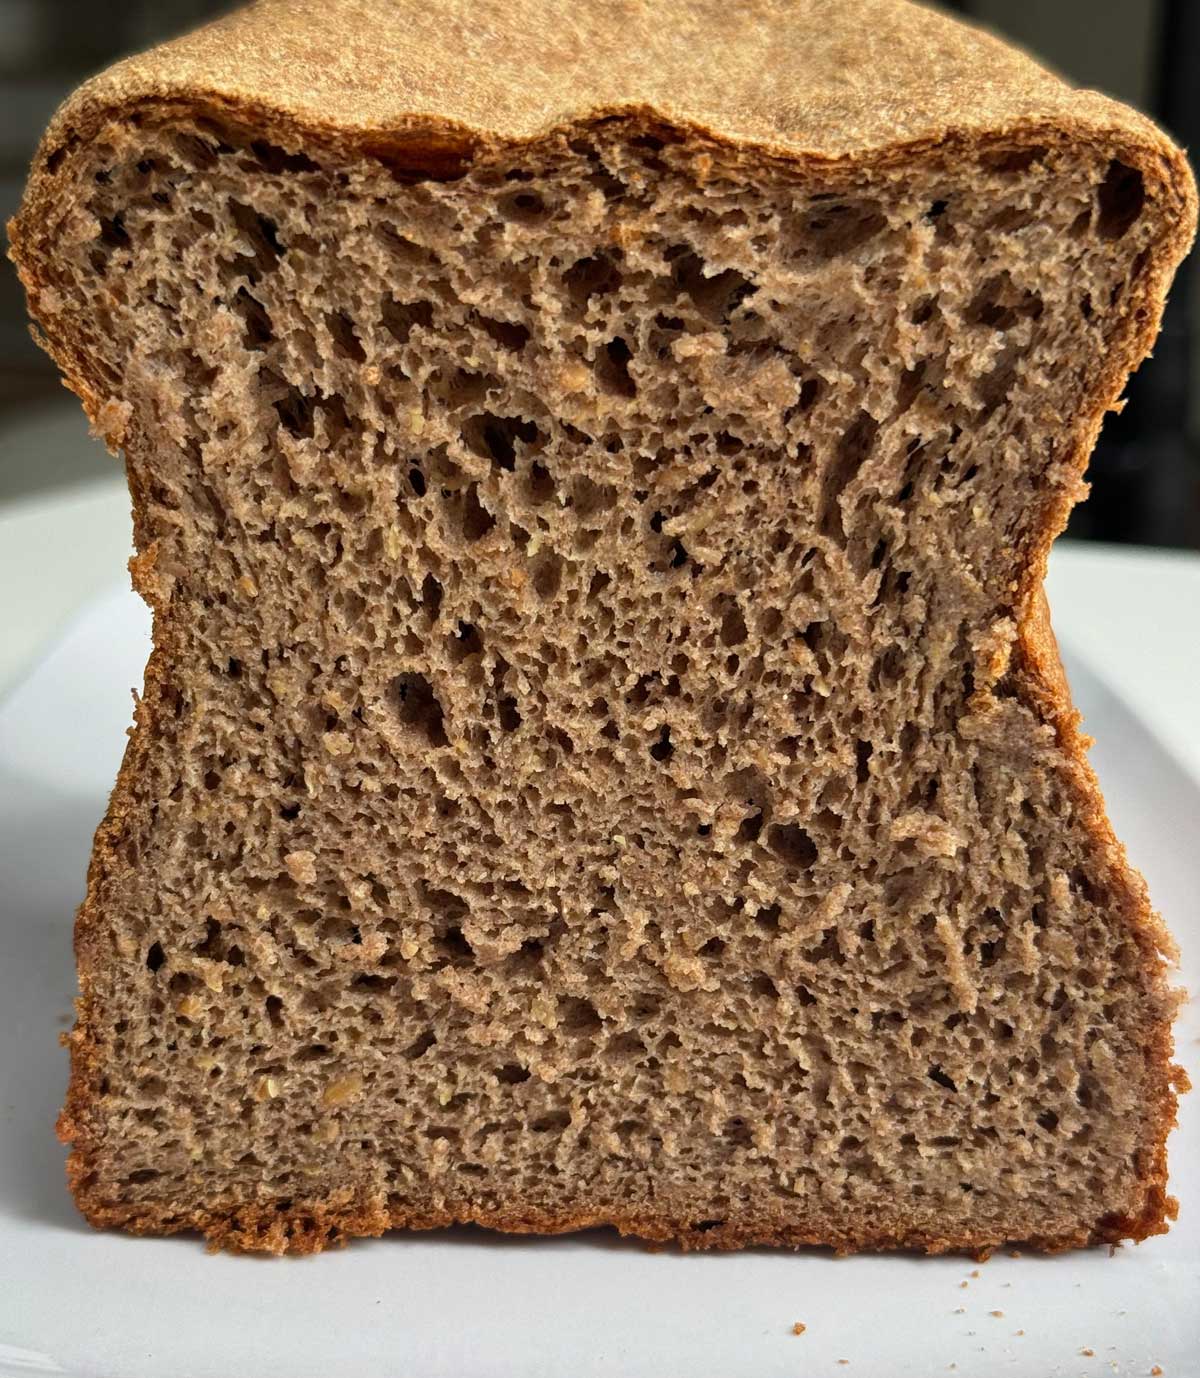
Whole Grain Gluten-Free Blend Flours
The catch is you'll need to round up the flours to make the blend, and most aren't available at the grocery store. Here is the blend with links to the flours I use.
Whole-Grain Gluten-Free Flour Blend (Flax Blend)
Makes about 48 oz or 10 cups. You will not need all of it for this bread.
24 ounces (5 ¼ cups) teff flour
8 ounces (1 ¾ cups) brown rice flour
8 ounces (2 ⅓ cups) ground golden flaxseeds
5 ounces (1 cup) sweet white rice flour
Making the Dough
This dough couldn't be easier. You put your mixing bowl on a scale and add the flour blend by weight, followed by the psyllium, yeast, sugar, baking powder and salt. It's important to make gluten-free breads using weights until you get a feel for it. It's also easier and saves dishes.
The Dough
After you've weighed all the dry ingredients and put them in the bowl, you add very warm water, egg and soft butter to make a dough that's just slightly sticky. Unlike some gluten-free bread recipes that start out as more of a batter, the psyllium makes this dough fairly thick enough to be scraped onto a mat and shape it into a loaf. You then plop it into a pan, let it rise once and bake.
Gluten-Free Bread Dough and One Rise
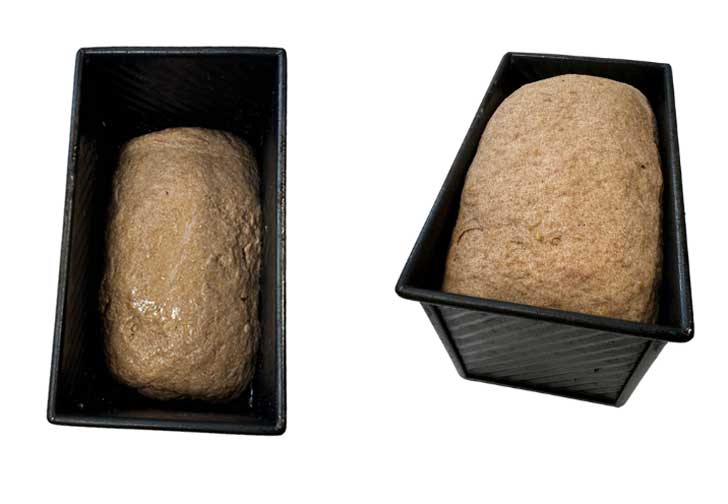
This bread calls for only one rise, and that begins right after you press it into the pan. The photos below show the dough after being mixed and pressed in the pan and after 40 minutes of rising. I let this one rise all the way to the top of a Pullman. It will not rise anymore in the oven, in fact it will sink a little.
Baking Gluten-Free Whole Grain Bread
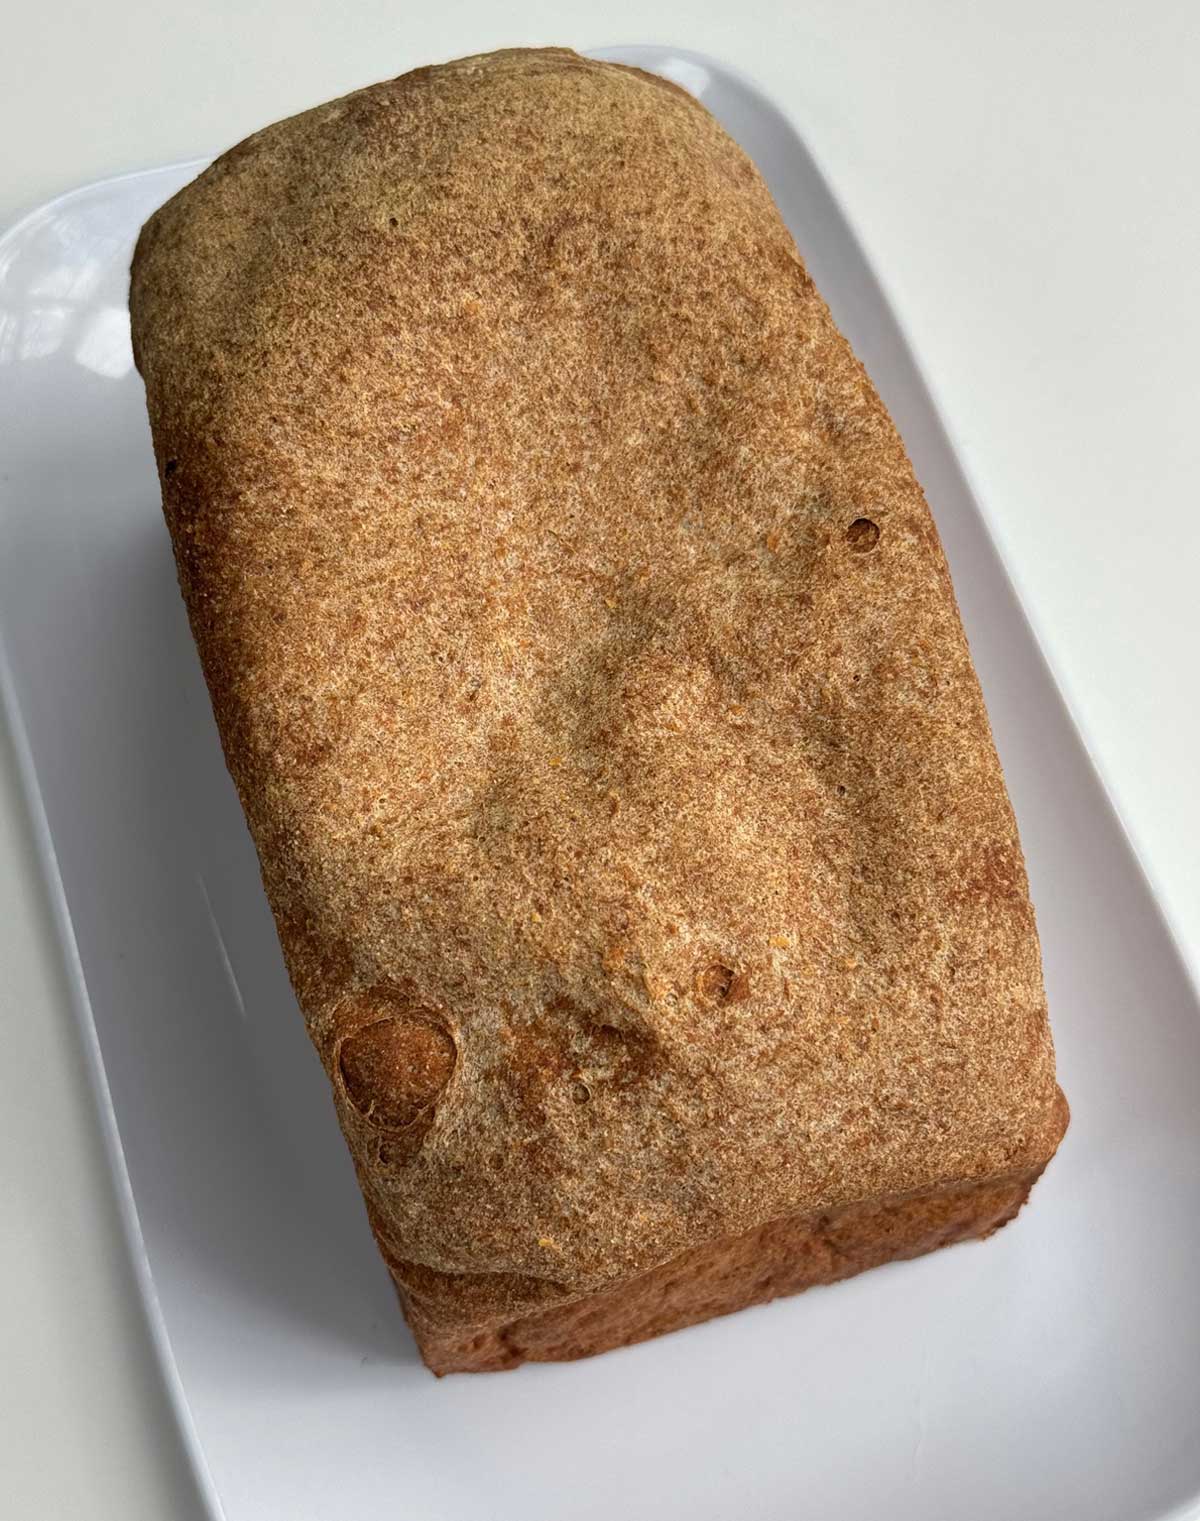
You'll bake it for 70 minutes. This might seem like a long time, but gluten-free bread doughs like this one (and the sorghum bread) have a lot of moisture, and the long bake-time helps remove the excess moisture. Once baked the bread will be soft. As it cools, it become firmer. After a day in the refrigerator it becomes a bit firmer and easier to slice. You can eat it right away, but in my opinion it improves a little with age. After the first day, I usually slice it and freeze half.
Pullman Pan vs. 8 ½ by 4 ½ inch Pan
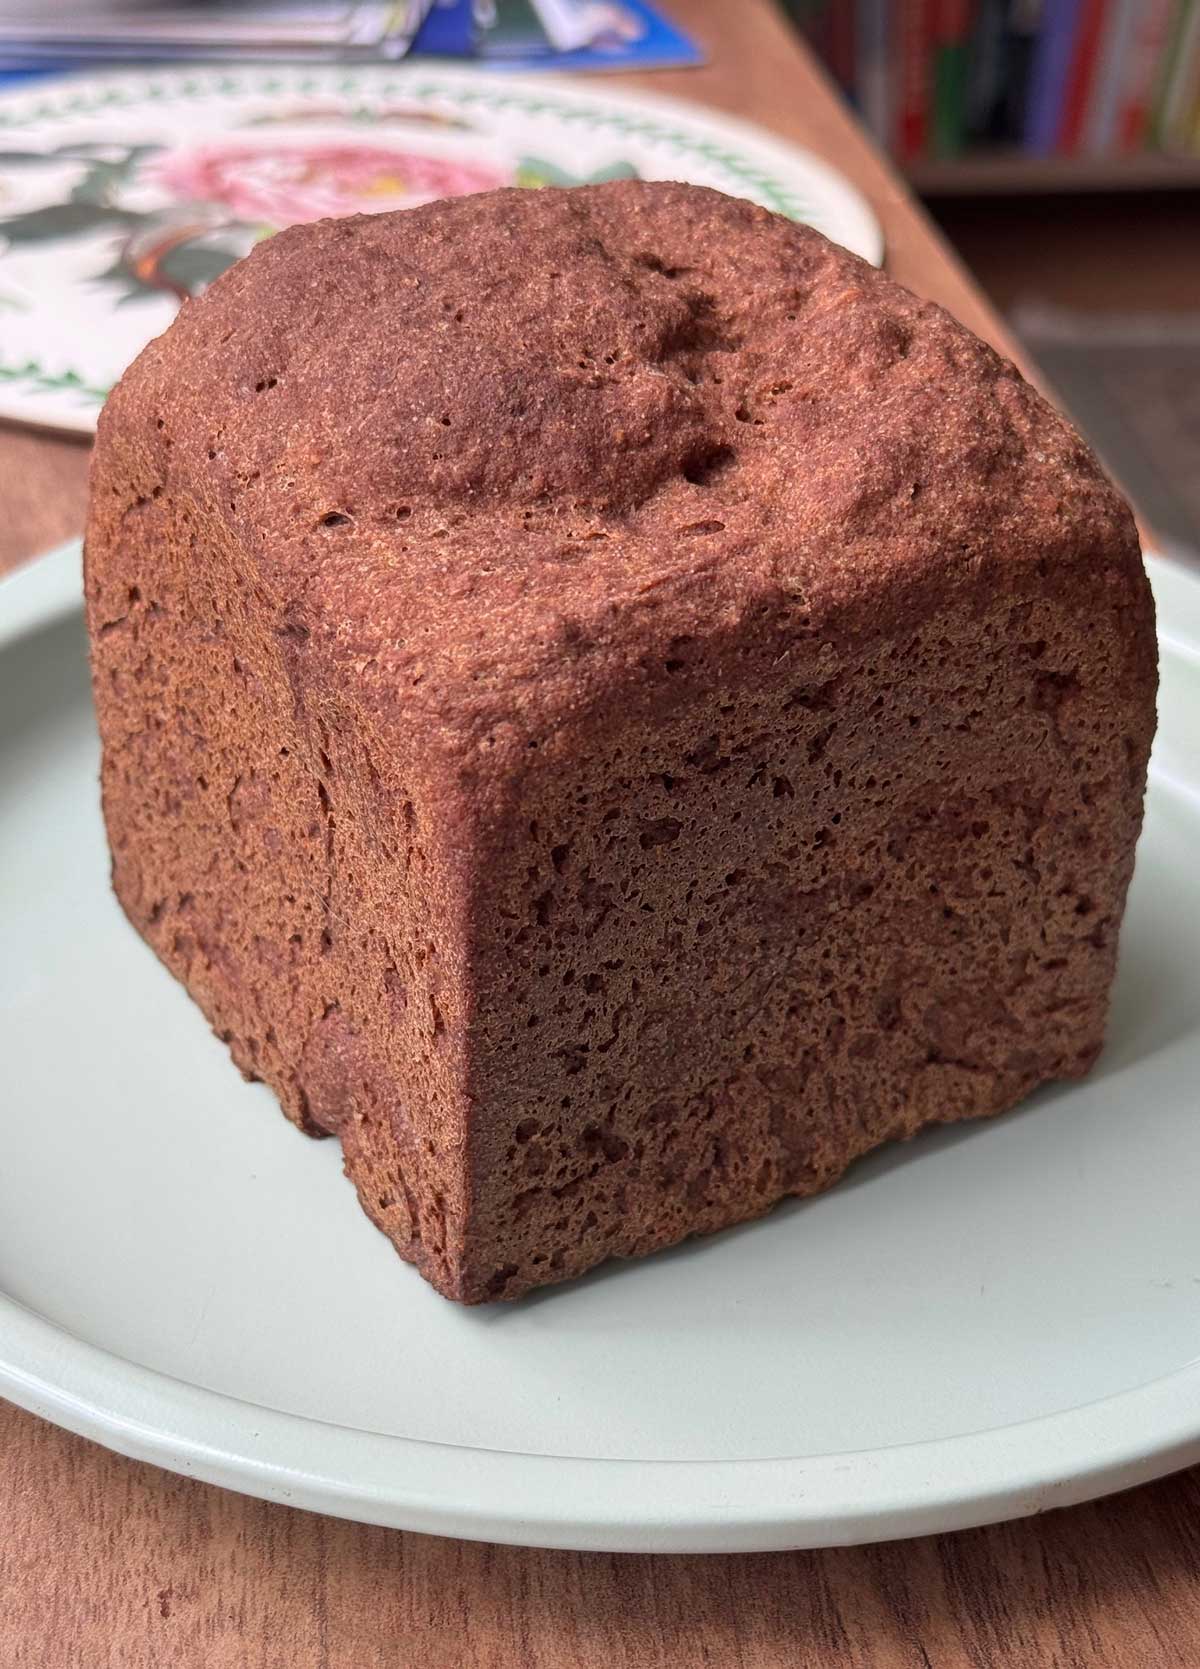
This bread works well in a Pullman because it rises high and slightly sinks as it bakes. If you make it in a regular 8 ½ by 4 ½ inch loaf pan, you'll get a tasty but slightly denser and shorter loaf. A Pullman is perfect because its narrow bottom and high sides support the dough.
I have two Pullmans, one for making regular size loaves (Chefmade) and this cute little cubical Pullman for making sample sizes. The nonstick coating on both is terrific if you keep them out of the dishwasher. But you can use an 8 ½ by 4 ½ inch pan too.
Recipe
Gluten-Free Whole Grain Bread For Pullman
Ingredients
- 2 ⅔ cup gluten-free flax blend from above (12.8 oz/358 grams)
- 2 tablespoons psyllium powder (20 grams)
- 1 ¾ teaspoons instant yeast
- 2 ½ tablespoons granulated sugar (30 grams)
- 1 teaspoon salt
- 1 ½ teaspoons baking powder
- 1 ½ cups water (12 oz)
- 1 large egg
- 1 large egg white OR 2 tablespoons beaten egg
- 1 tablespoon unsalted butter, very soft but not melted (14 grams)
Instructions
- Heat the oven to 200 degrees and then turn it off. The goal is to create a very warm proofing box. You don't have to do this, but it sometimes speeds things up.
- In the bowl of a stand mixer, combine the gluten-free flax blend, psyllium powder, instant yeast, sugar, baking powder and salt. Stir until blended.
- Heat the water in the microwave for about a minute and a half or just boiling, and let it cool down to 125 degrees F.
- Add the 12 oz of 125 degree water to the flour mixture and stir just until moistened, then add the egg, egg white and the butter. Using the paddle attachment, beat on medium speed for about 3 minutes. The dough should clear the sides of the bowl and form a mass on the paddle. If it sticks to the side of the bowl, just scrape it off. It should still be slightly moist, but dry enough so that you can scrape it onto a mat and bounce it a little.
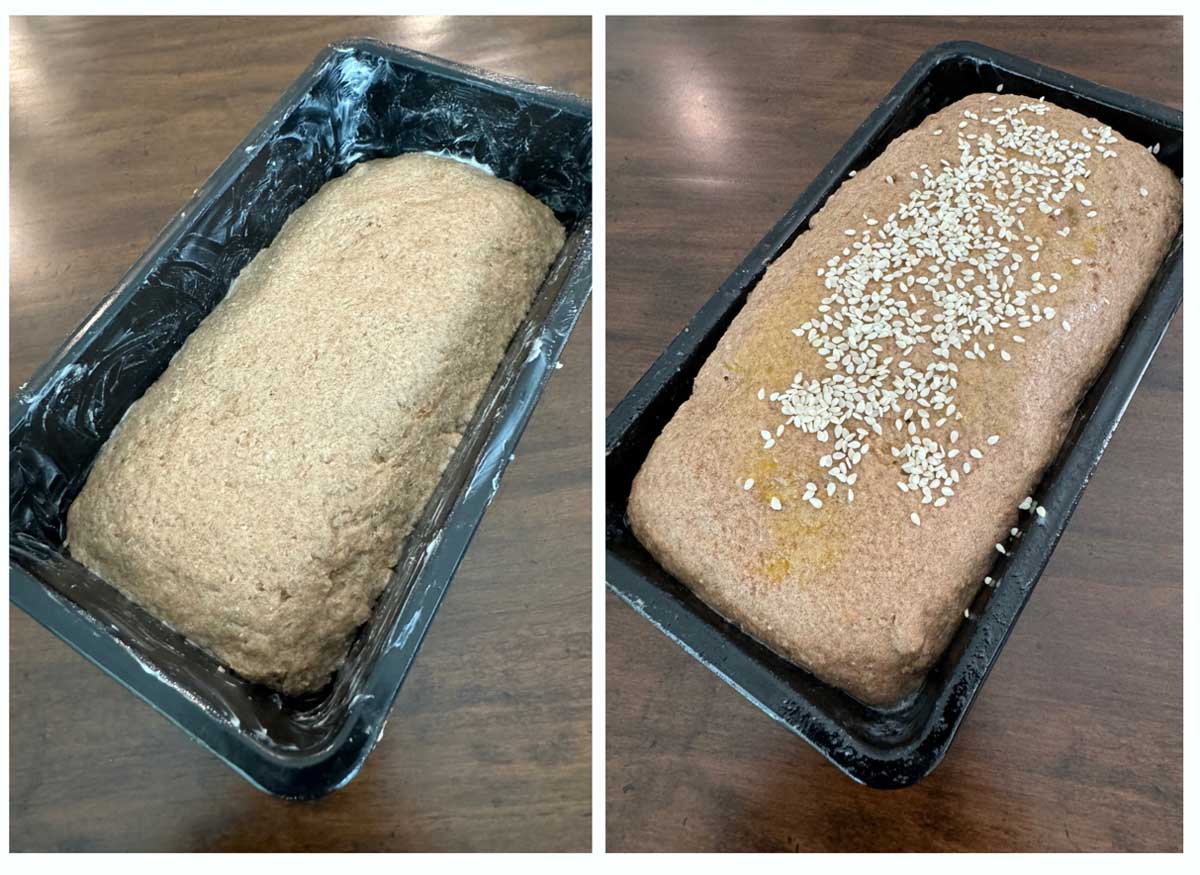
- Scrape onto a pastry mat (you may or may not need a tiny bit of flour, I never do) and press down. Fold over on itself once or twice and shape into a compact loaf. Transfer to a greased Pullman pan.
- Cover with greased plastic wrap, then put in the warm oven (make sure you turned it off) for 20 minutes. Remove from oven and let rise for another 20 minutes or until loaf has risen to the top of the Pullman. Meanwhile, preheat oven to 350 degrees F.
- Bake risen loaf at 350 degrees F. for about 70 minutes. Turn off the oven. Let cool slightly and carefully remove the loaf from the pan. At this point, if it feels kind of heavy (which is usually will), let it sit in the oven with the door closed to further dry out the crumb for about 20 minutes. Remove from the oven and let cool completely.
- The loaf might seem heavy at first, but as it stands and cools it will tend to solidify more. Once cool, you should be able to slice it. It should be firm enough to hold light sandwich fillings only, but it's mostly best for toast.

Leave a Reply