
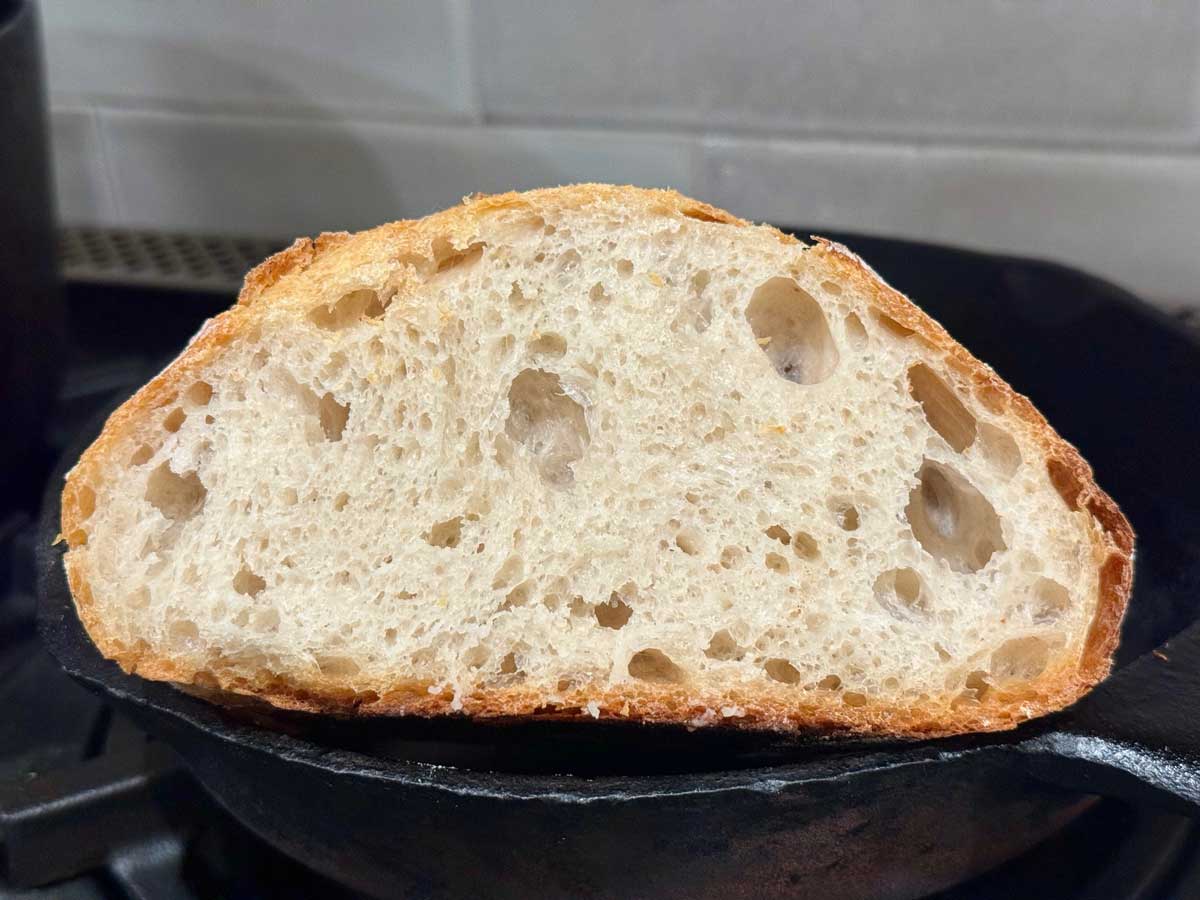
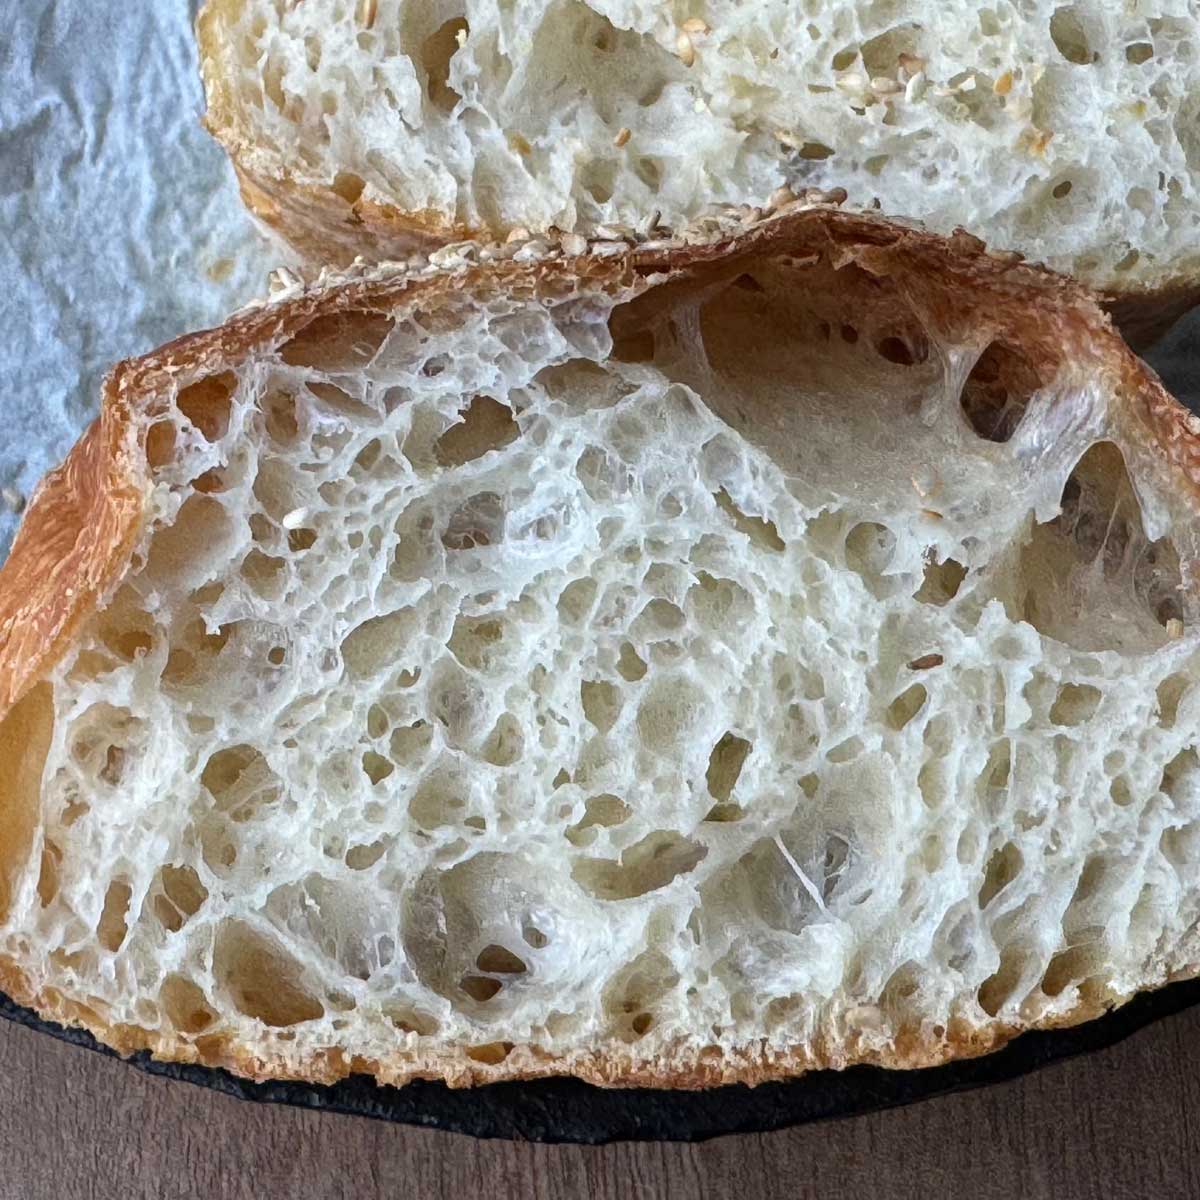
This is my everyday sourdough bread recipe. It's naturally leavened (no added yeast) and structured so you can bake it in one day or extend the fermentation to two. It is streamlined, but not rushed, and consistently produces a loaf with good oven spring, an open crumb, and balanced flavor. The flavor is not dramatically tart like San Francisco style or my usual discard bread, but it has a beautiful crumb and chewy texture.
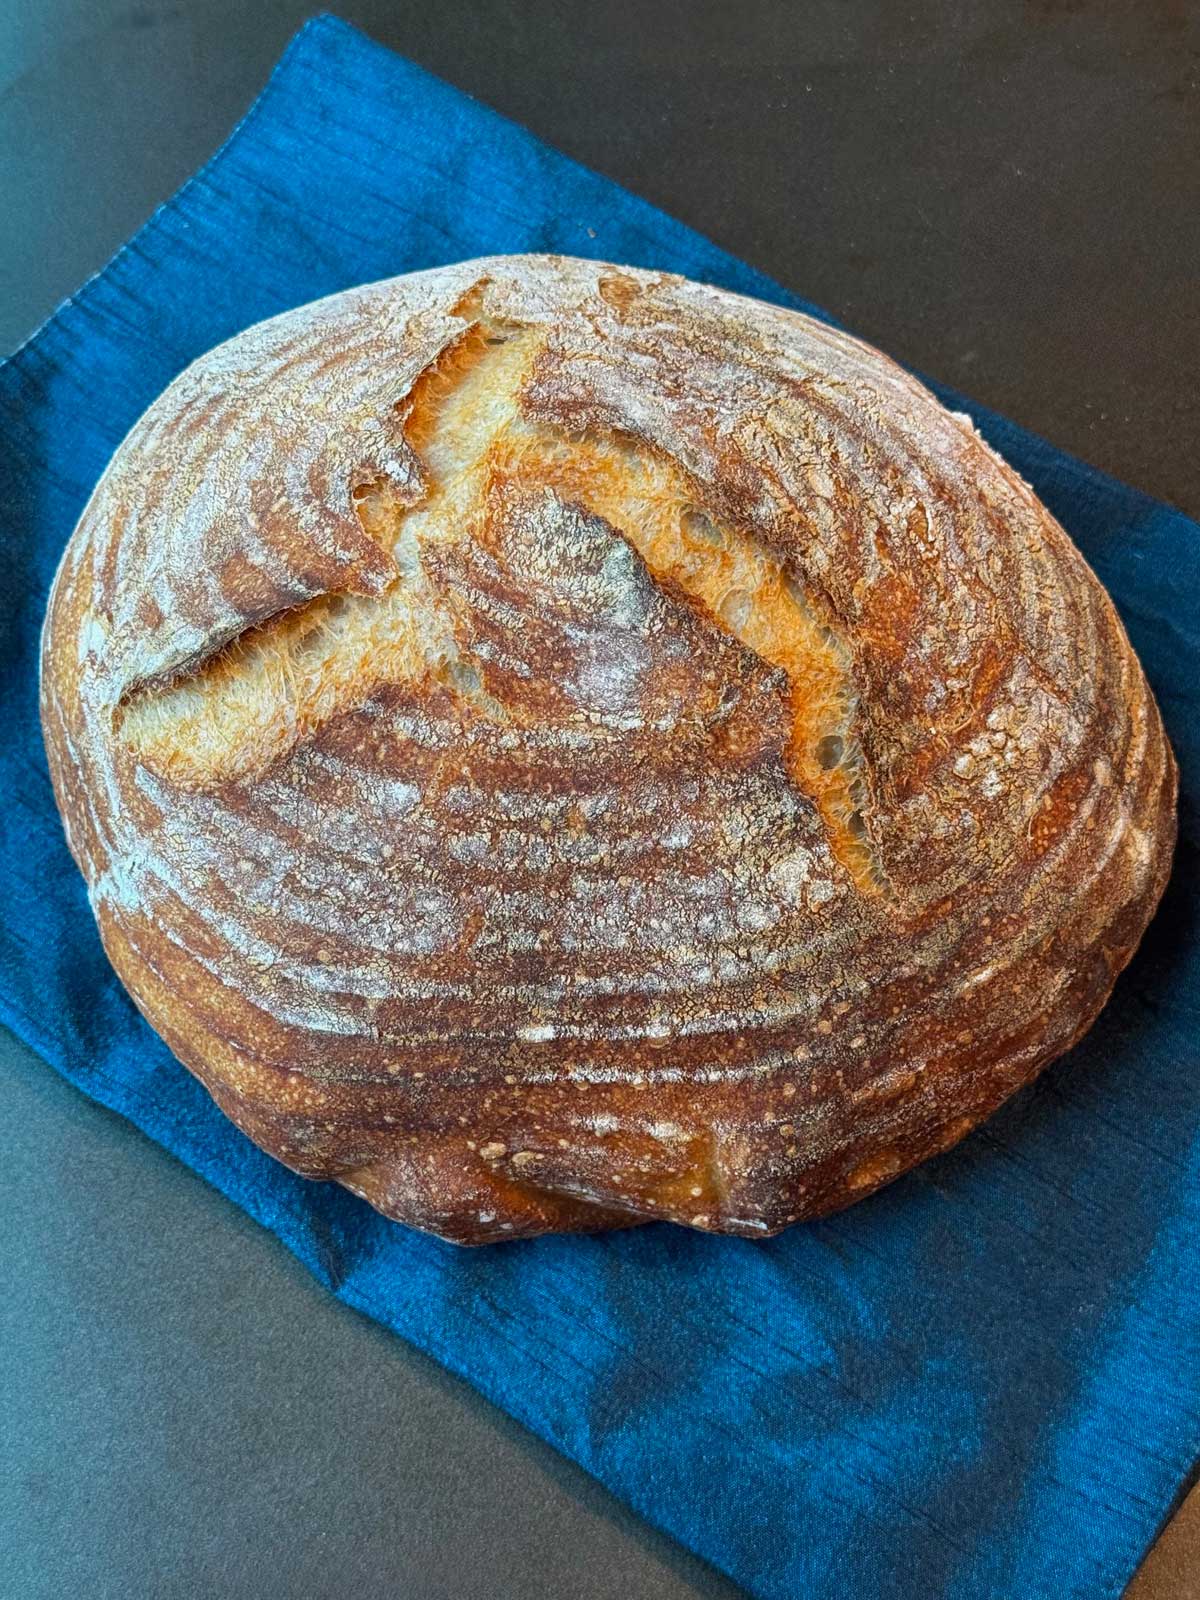
This basic sourdough bread recipe goes with the mini starter I posted a few months ago. It calls for 60 grams of bubbly and active starter. There's no yeast because the sourdough does all the work! Also, the bread does not require a stand mixer or any kneading, just some casual babysitting for the first 2 hours. You can start it late in the morning and have a loaf ready by early evening.
The First Hour
To make this bread, mix flour, water and sourdough in a bowl. Let it stand for 45 to 60 minutes. Meanwhile, measure out the salt and keep it nearby. You'll be adding it later in the process. Salt tightens the gluten structure, so delaying it for 45 minutes allows for a more extensible gluten system which leads to bigger bubbles and air holes. Just keep that salt nearby so you don't forget it. When it's time to add the salt, work it in by stretching and folding the dough with the scraper.
Two Hours with Stretch and Folds and Four Hours of Doing Nothing
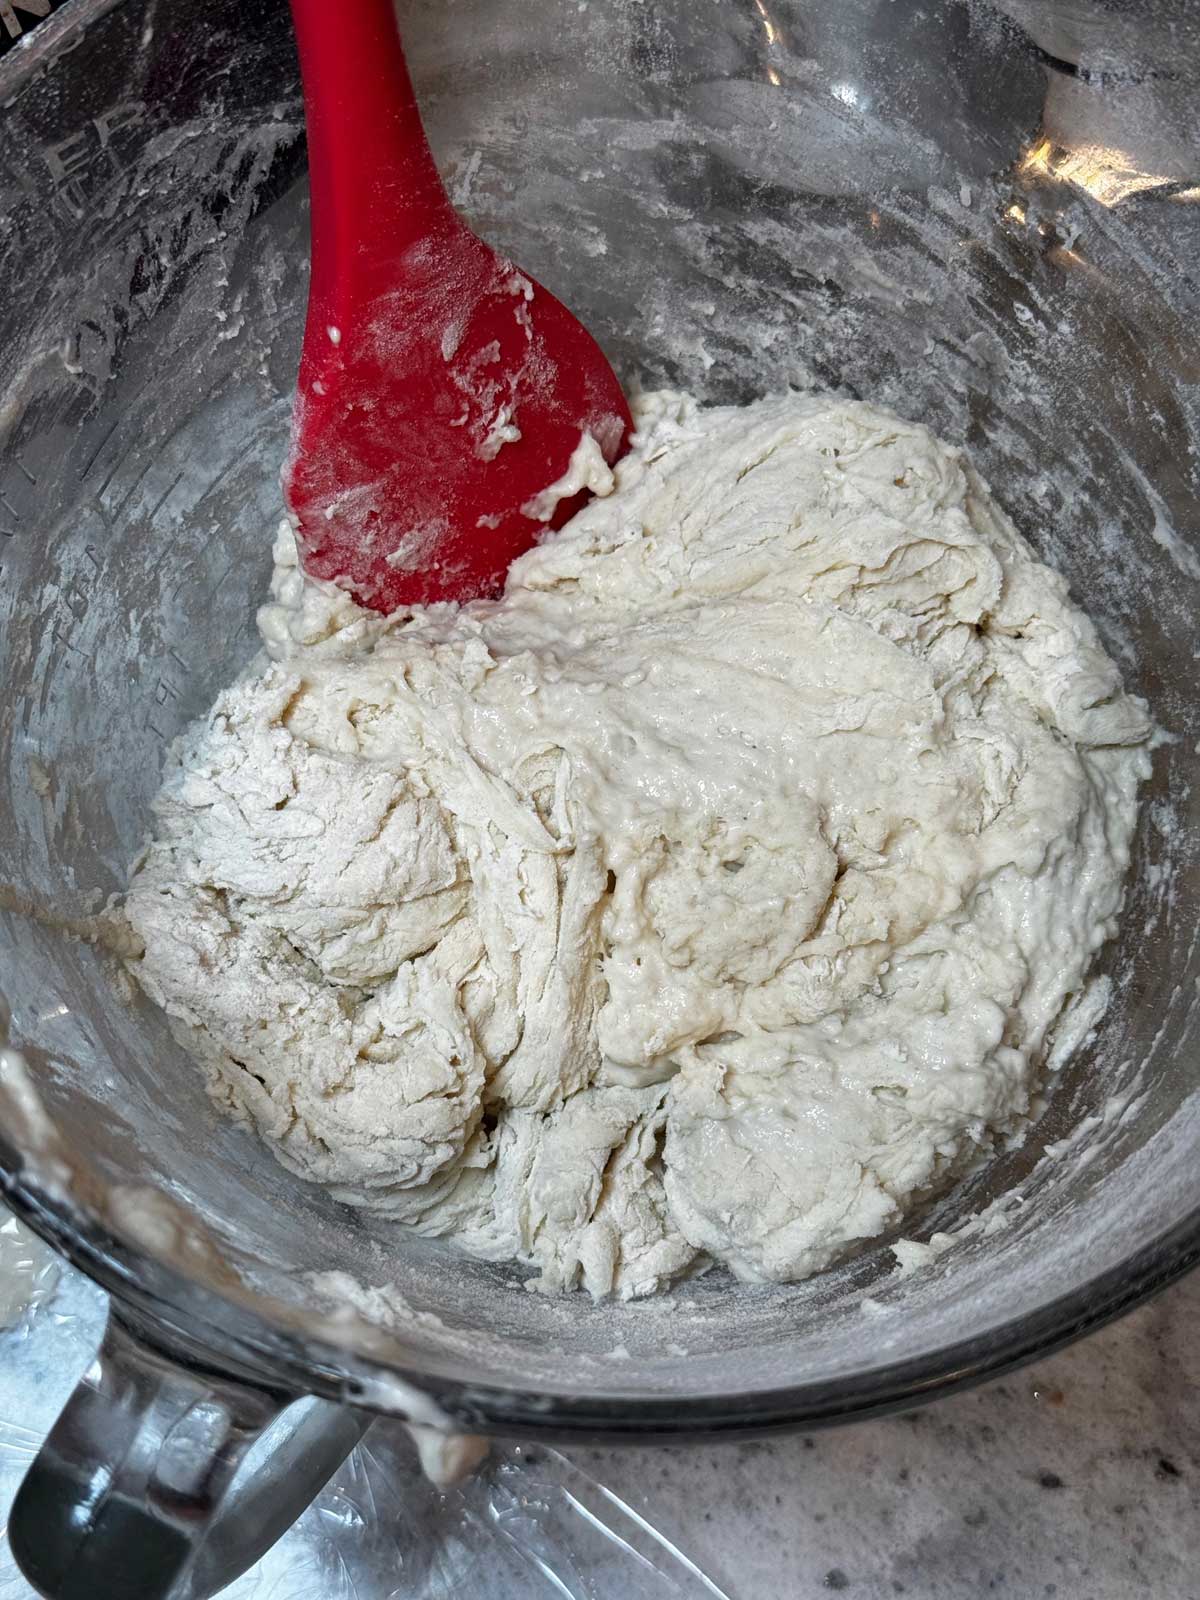
For the next two hours, let it stand, but do a series of stretch and folds every 30 minutes or so. A stretch and fold is where you pull the dough and fold it up and into the center to form a ball. I think of it as "training" the dough. It also helps create air pockets. After this initial two hours of checking in and doing stretch and folds, you can leave the dough alone for the next 4 hours.
Sits in Special Basket for 1 ½ hours
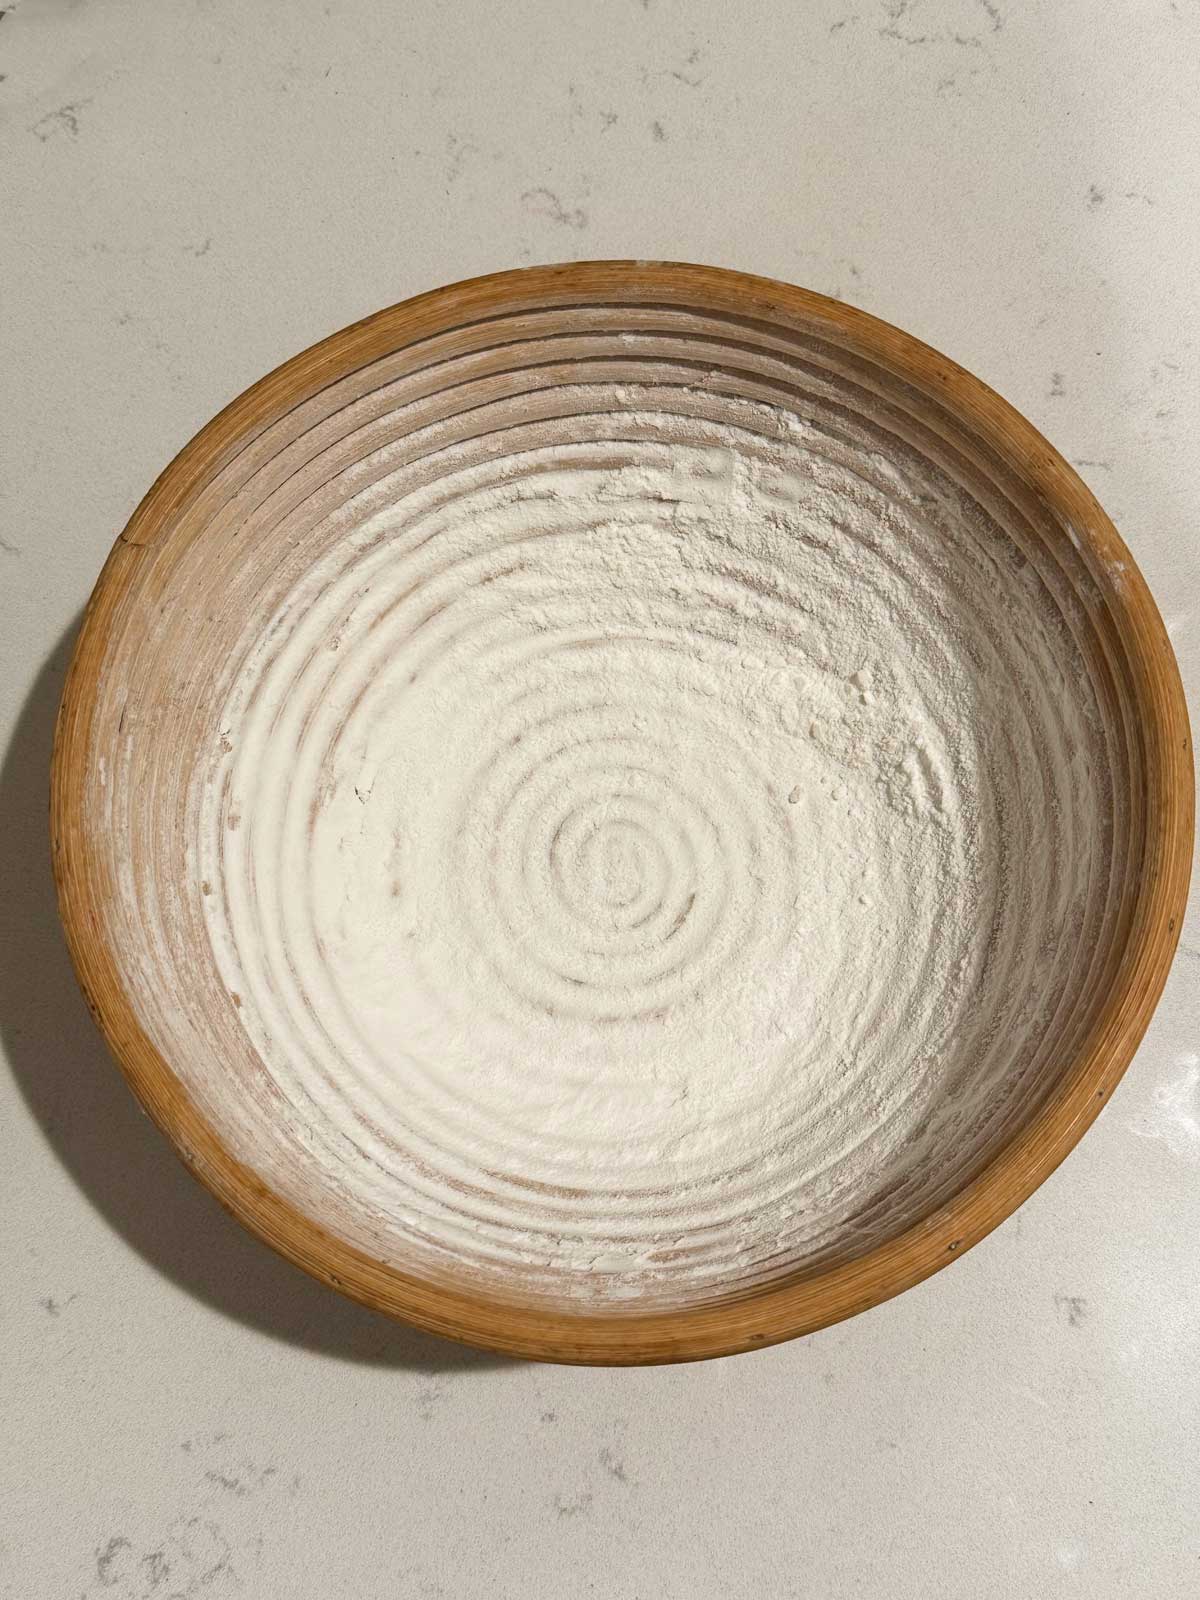
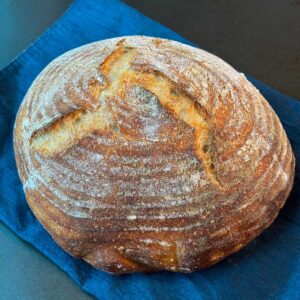
In the late afternoon, you'll transfer your dough from a bowl to a special basket called a banneton. The banneton is what creates the pattern on the bread. I've learned to dust the banneton heavily with rice flour rather than wheat, as it seems to prevent sticking a little better. If you don't have a banneton, you can let the dough rise in a bowl lined with parchment paper.
Time to Bake
To bake the bread, use a Dutch oven with the lid on for 25 minutes and the lid off for another 20 to 25. The steamy heat of a Dutch oven gives loaves some lift, but if you don't have a Dutch oven, you can probably bake the loaf directly on a baking sheet. I admit, I always use my Dutch oven for this, but if I were to bake it without one I would try 425 degrees F for 20-25 minutes, then lower the oven temperature to 375 degrees F and bake another 20-25 minutes, until the loaf is well browned and registers about 210 in the center. Tent loosely with foil if the crust darkens too quickly.
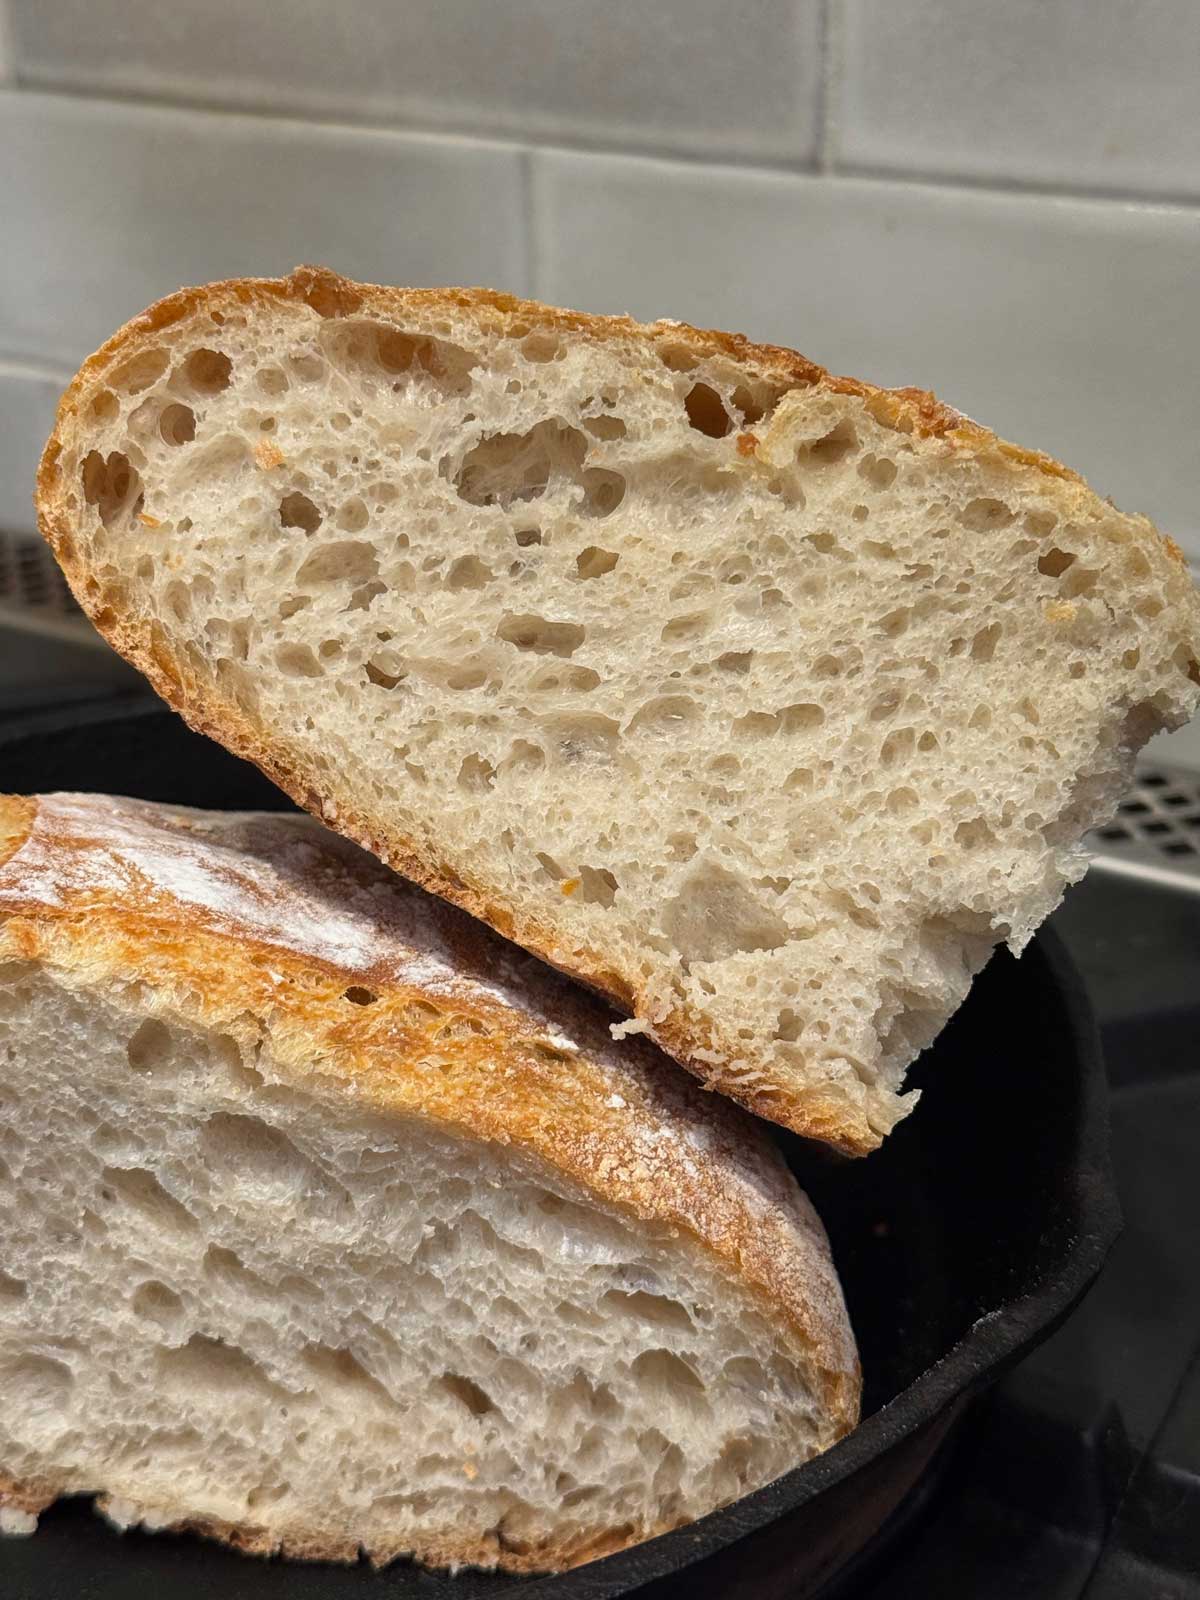
One Day and Two Day Schedule
I haven't found a huge flavor difference between the one and the two day versions, but if the two day timing works better for you, you can stretch out the fermentation. Here are two schedules I've used.
One Day Schedule: Start in the morning around 8:00. Mix and let rest untouched until 8:45 or 9:00. Add the salt and let stand until 11:00, doing stretch and folds every 30 minutes. Leave it alone until 3:00. Put it in a basket and let rise until about 4:30. Flip it out onto a sheet of parchment, lift parchment and set in hot Dutch oven and bake for about 45 minutes.
Two Day Schedule: 1:00 Mix and let rest until 2:00. Scrape into a ball and do a few stretch and folds for the next 2 hours. Starting at 4:00, leave it alone for 4 more hours At 8:00, cover and put in the refrigerator to ferment overnight. Any time the next day, turn into a floured basket, let rise at room temperature for 1 ½ hours, then bake.
Recipe
Basic Sourdough Bread
Ingredients
- 60 grams active sourdough starter bubbly, at peak
- 300 grams water room temp to slightly warm
- 400 grams bread flour
- 1 ¼ teaspoons salt about 8 grams
Instructions
- In a large bowl or a big plastic tub, stir together the starter and water.
- Add 400 grams of flour and stir with a heavy duty scraper until it is fully mixed and no dry flour remains. Keep the salt nearby, but don't add it yet.
- Cover with a piece of plastic wrap and let rest for 45 minutes. This helps the hydrate the flour and improves gluten-development.
- After the rest, sprinkle the salt over the dough. Loosen dough from sides of the bowl or tub. Use a heavy scraper to work in the salt by folding the dough over on itself and squishing it around.
- Cover the bowl and let rise for 4 to 6 hours. For the first 2 hours, do 3 to 4 stretch-and-folds every 30 minutes or so.
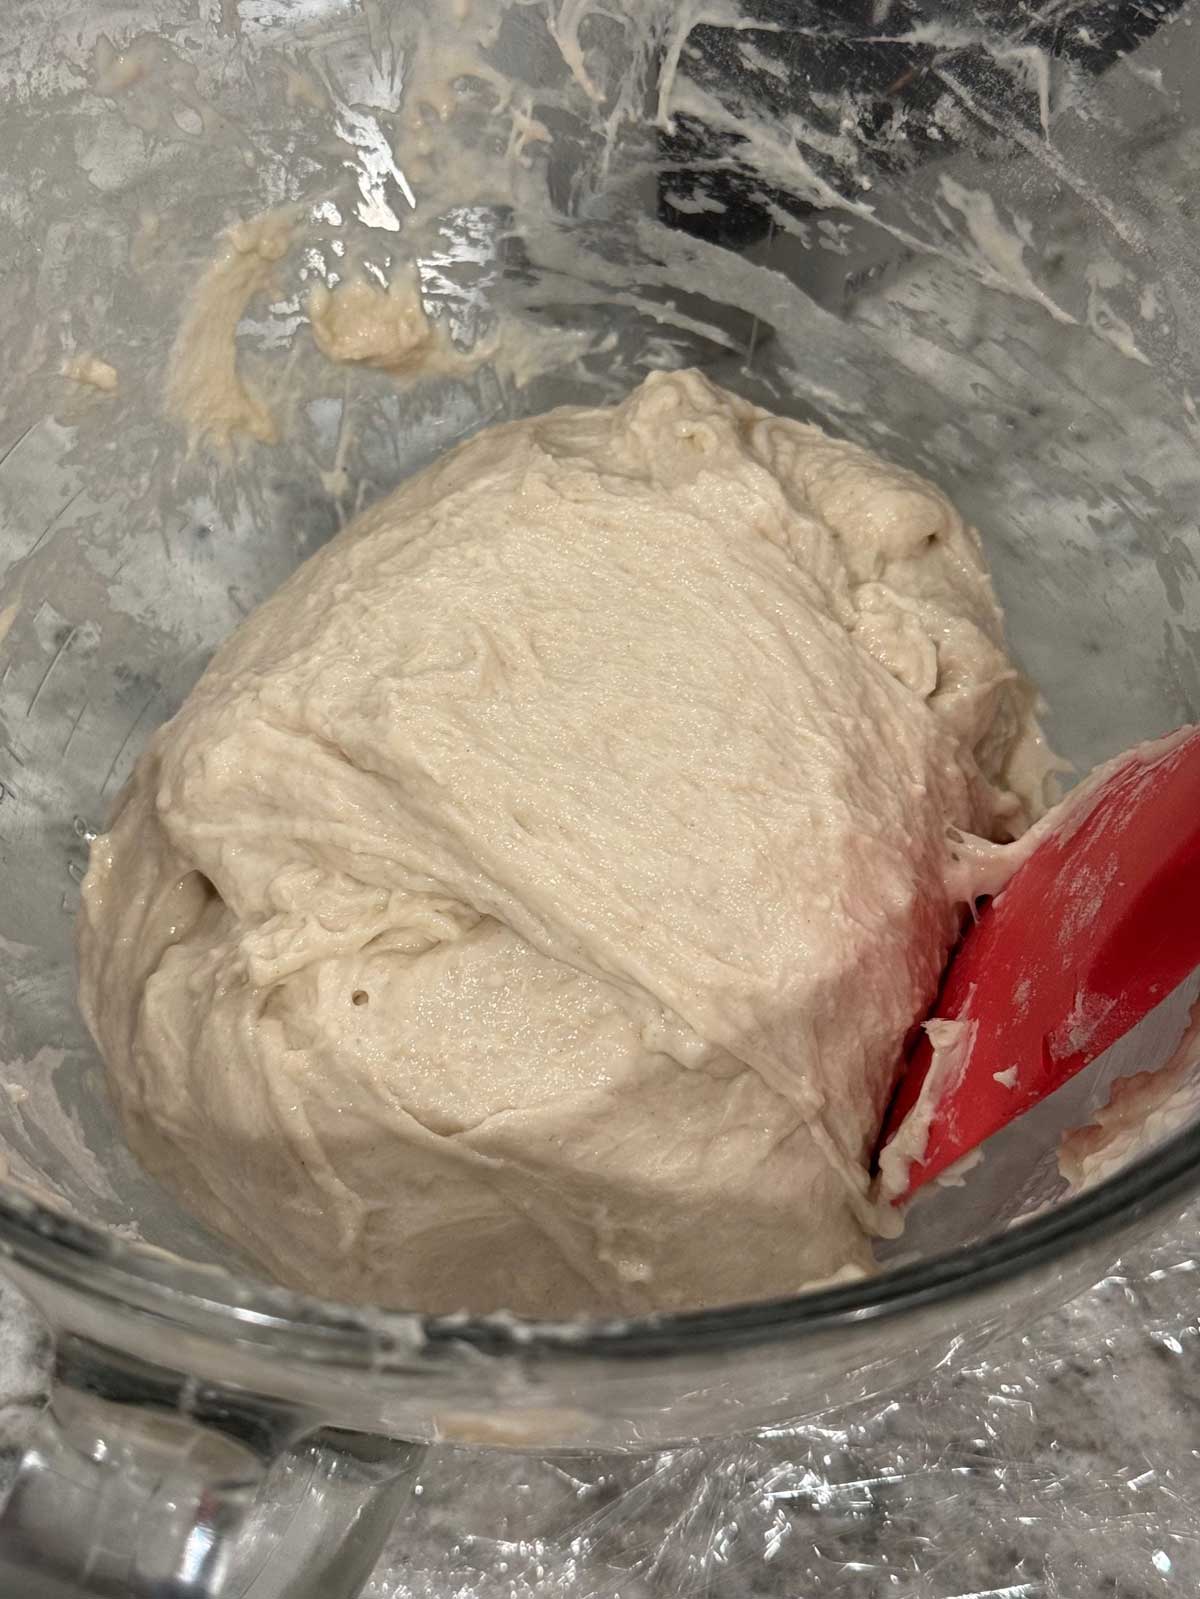
- After that, let the dough rest undisturbed until it looks puffy and has risen about 50-75% (not doubled).It should start to look smoother, and shinier and jiggle slightly when the bowl is moved
- Turn the dough into a banneton dusted generously with rice powder. Do a stretch and fold or two to give it a ball like form, but expect it to go slack again as it rises.
- If making the one-day version, let rise in the banneton for 1 ½ hours.
- If making the two day version, let rise in the banneton for about 2 more hours, then cover and transfer to the refrigerator to chill overnight.
- Preheat oven to 450 degrees F. with a Dutch oven inside. This should take at least 30 minutes.
- Carefully turn the dough from the banneton onto a sheet of parchment paper. It will deflate slightly and spread out, but don't worry because it should puff up once in the pan and covered. The important thing is that it is airy and bouncy.
- Carefully make a slash in the top of the dough with a razor. It will feel a little awkward since the dough is so soft, but you should be able to make a cut. Lift parchment with the dough and set in the hot Dutch oven. Cover and bake with the lid on for 25 minutes at 450F.
- Reduce heat to 375. Uncover and bake 25 minutes until deep golden brown.
- Let cool for at least an hour before slicing.
Anna says
I'm so glad the rice flour worked well for you. If you have a lot of it and want to use it in a recipe, the Simple Rice Flour Cookies are good. The cookies call for brown rice flour, but white might work too.
Cyndi B says
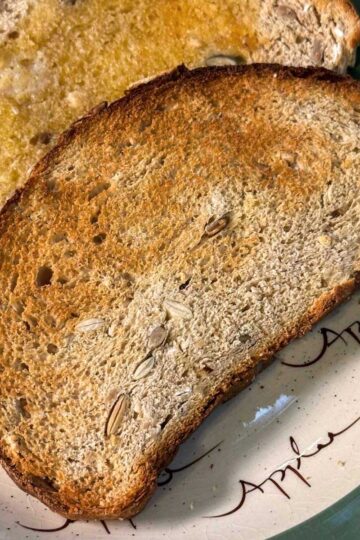
I made this bread again after I bought rice flour for my banneton. What a lovely loaf I have created!The dough turned out of the banneton without sticking! Thanks so much for the recommendation. I never knew about the rice flour trick. My husband and son absolutely love this bread, and it makes great toast too!
Anna says
Cyndi, thank you so much for trying it! I was hesitant to post a basic sourdough without yeast because there's such an art to making it, but this version works so well. The dough goes through so many stages as it sits there. Sometimes even when I use the same ratios, the dough seems softer or more/less bubbly. The loaf in the photo looked like a big pile of goo when I dropped it in the Dutch oven, but it magically puffed up.
Please let me know if you try it with bread flour because that will make a huge difference in the shape. Also, I just learned about using rice flour in the banneton and it really changed everything because the dough sticks less and loses less air when you turn it. Thanks for trying it and I hope you make it again and again.
Cyndi B says
This bread was delicious! I didn't have rice flour for my banneton, so had to use AP. Unfortunately, my dough stuck and was king of a blobby stuck mess. But I forged forward and was rewarded with an unattractive but extremely delicious loaf! The crumb and crust were exceptional.