
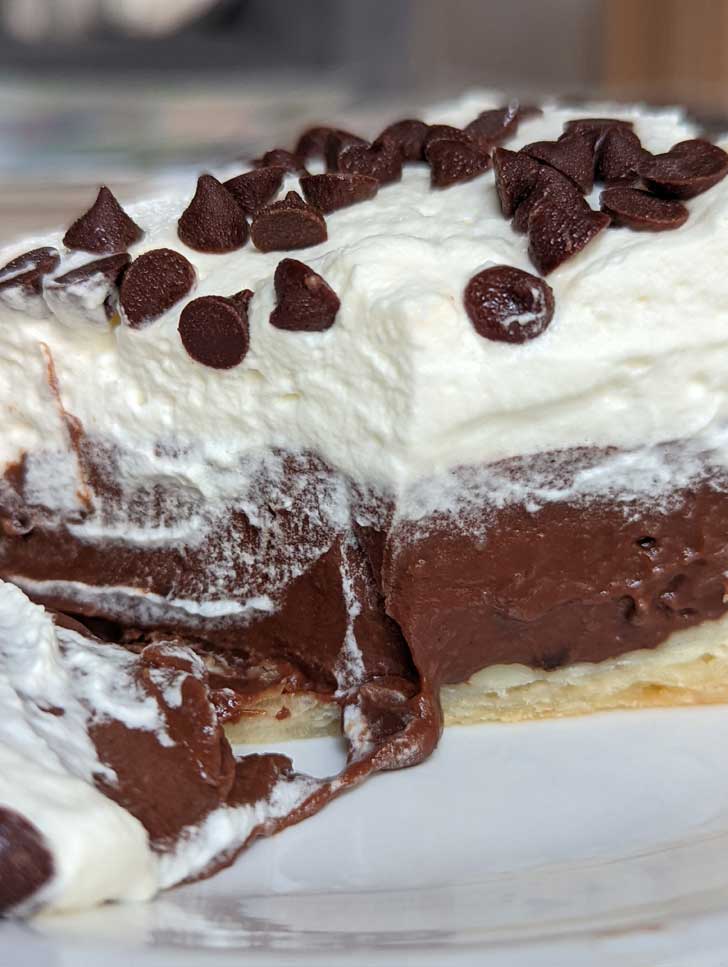
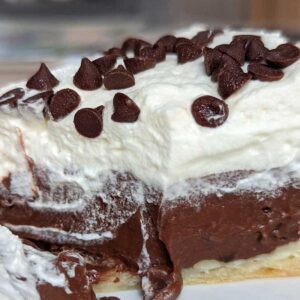
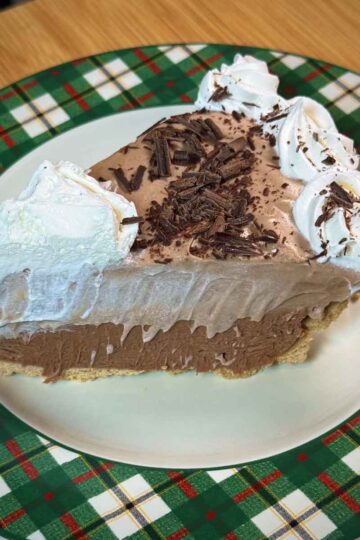
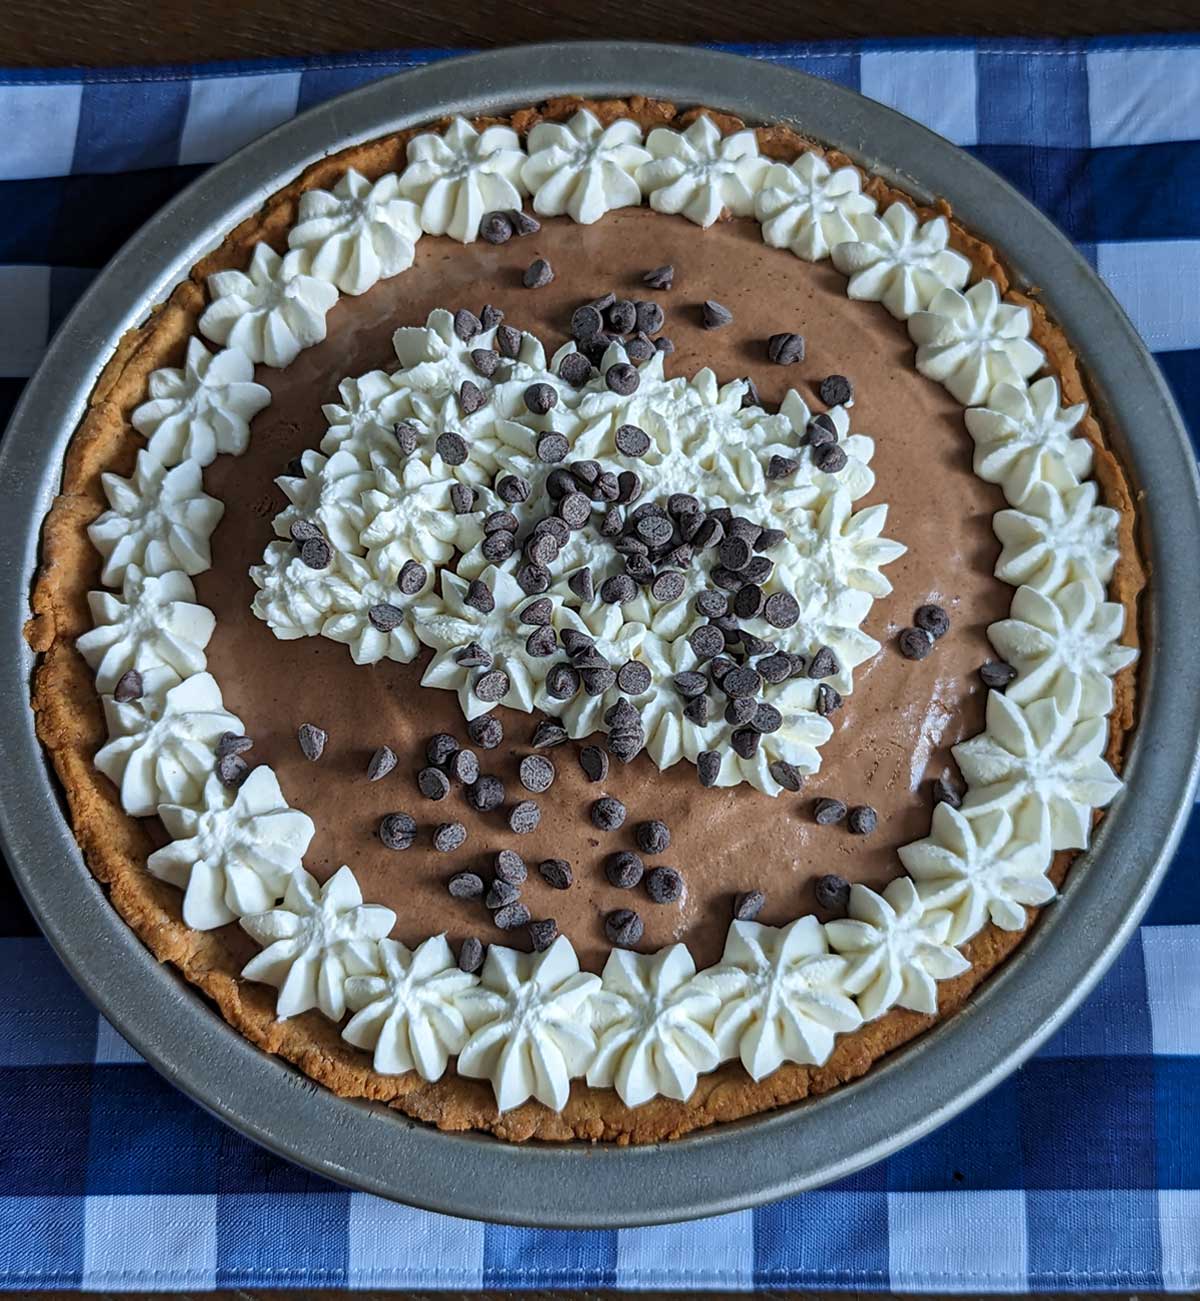
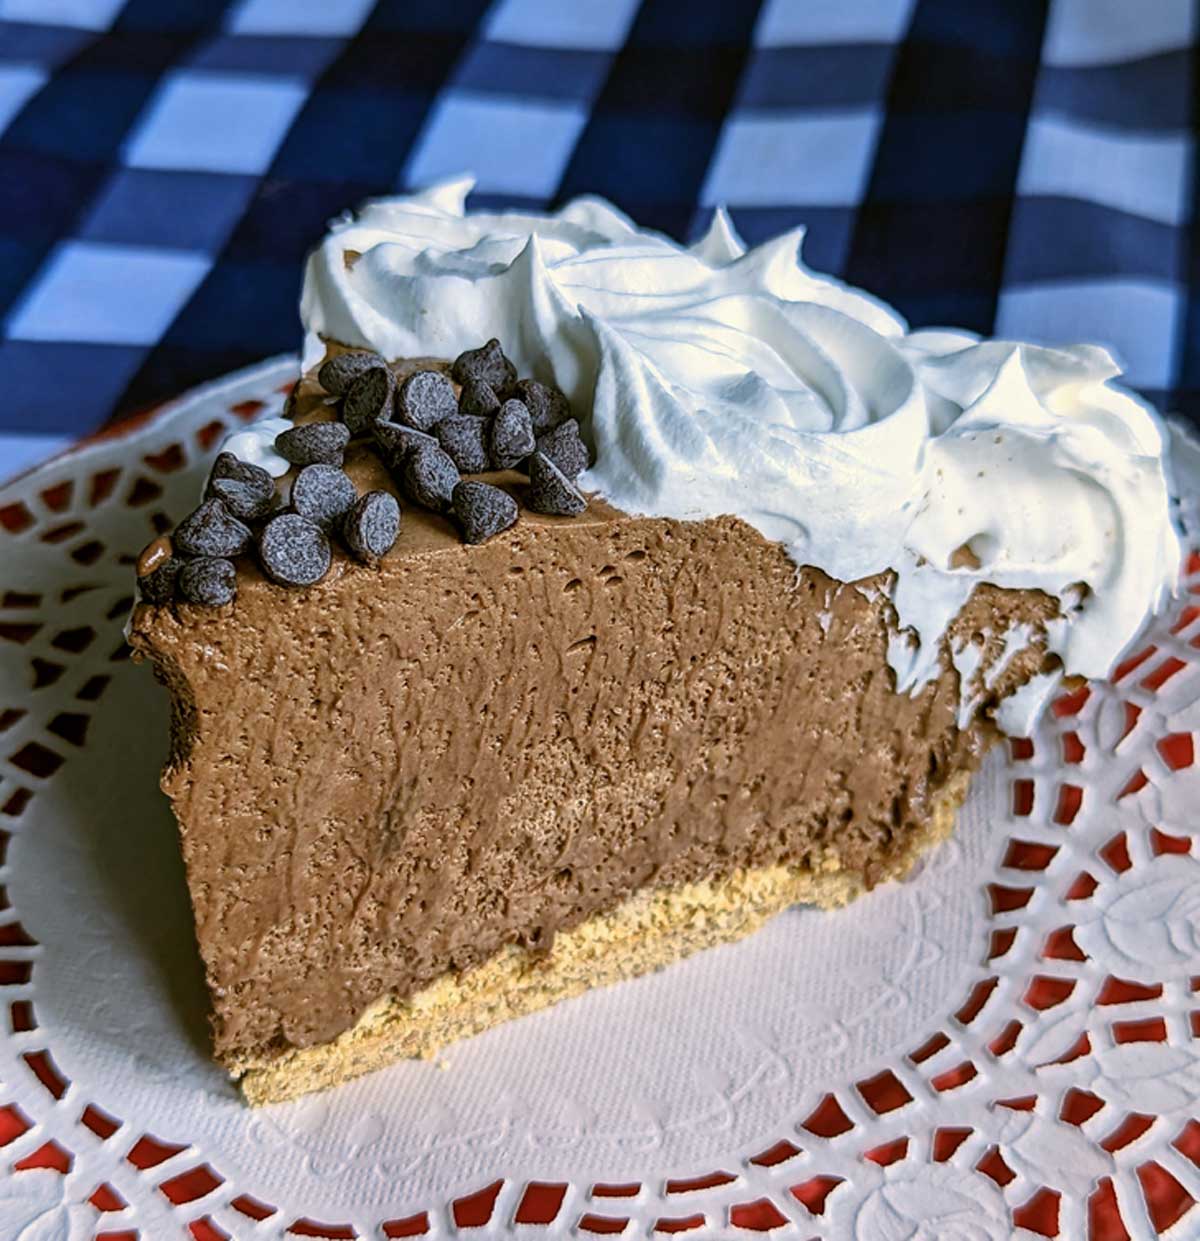
This chocolate pie is an egg-free vintage Pet Evaporated Milk recipe and calls for two full cans of evaporated milk, which gives it a creamy, nostalgic texture. In addition to the evaporated milk, it calls for sugar, cocoa powder, cornstarch, salt and butter, which are kitchen staples. I like it because I can throw it together pretty easily any time I have a crust to be filled.
Store Bought Frozen Baked Pastry Crust
That said, the amount of filling lands in an awkward zone. It was originally designed for a true 9-inch homemade deep dish pie crust that holds up to 4½ cups of filling. But most store-bought deep dish pie shells, like Marie Callender's, hold closer to 3 to 3¼ cups, which means this recipe can leave you with a little too much filling for a frozen pastry crust. That, and since it's egg-free and not extremely stiff, you don't want to attempt to fill it too high.
If you're using a frozen pie shell, just know you may have a bit of extra filling. You can pour it into a ramekin and chill it as a bonus mini dessert. If you're making a crust from scratch in a deep ceramic or glass pie plate, this recipe should fill it nearly to the top.
All Cocoa Powder Chocolate Pie
The recipe calls for ½ cup cocoa powder and no chopped chocolate, which means it's best to use a cocoa powder you really love since that's where the flavor comes from. I've used both Dutch process and natural and kind of prefer the flavor of natural over Dutch in pie filling. But that's completely subjective.
Sets Up Softer
Another thing about being all-cocoa is the pie sets up softer. The fact that there are no eggs contributes to this as well. If you want a stiffer pie, look for one with chopped chocolate, flour or cornstarch and eggs. This egg-free filling does work for pie, but it would also be good as parfait filling since it's less stiff. Remember the little chocolate parfaits Kentucky Fried Chicken used to sell (maybe they still do?). This filling would be perfect for making those.
Avoiding Lumps
With an all-cocoa powder egg-free pie, you run the risk of lumps. One way to lessen the lumpiness is to sift the cocoa powder before using. Also, do your best to blend the ingredients well before putting over the heat. That is, try to get the texture as homogenous as possible. You can also strain the pie filling before adding the butter and vanilla if needed. I have only needed to strain this pie filling once, and it was when I made it with unsifted Dutch chocolate cocoa and only mixed the ingredients about halfway before putting over the stove.
Halving The Recipe
Halving the recipe is the option I go for since we never really need a full deep dish pie. I've been known to halve the recipe and make it in a 6.5 or 7 inch pie dish. That might sound like a strange size, but Amazon has a ton of cute 6.5 and 7 inch pie dishes which are just right for making small family pies. Or (as mentioned above) you can just stick with the recipe as it's written and freeze any leftovers.
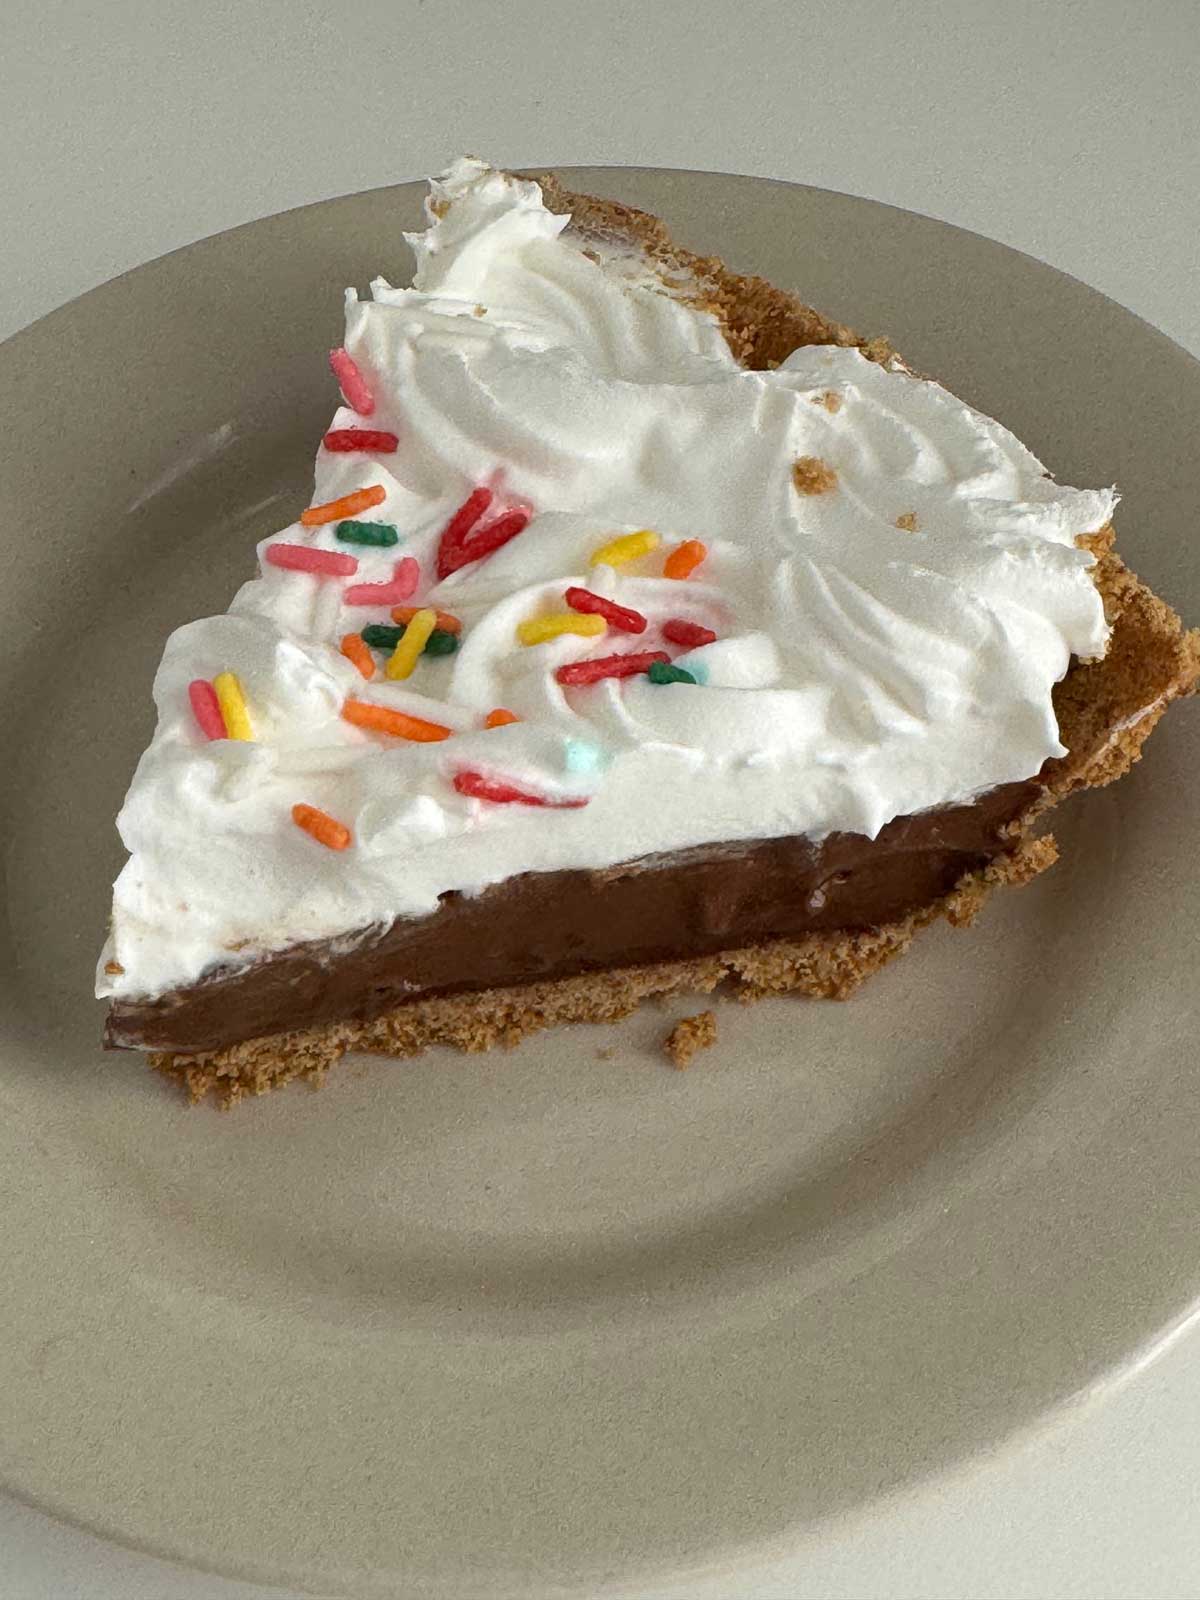
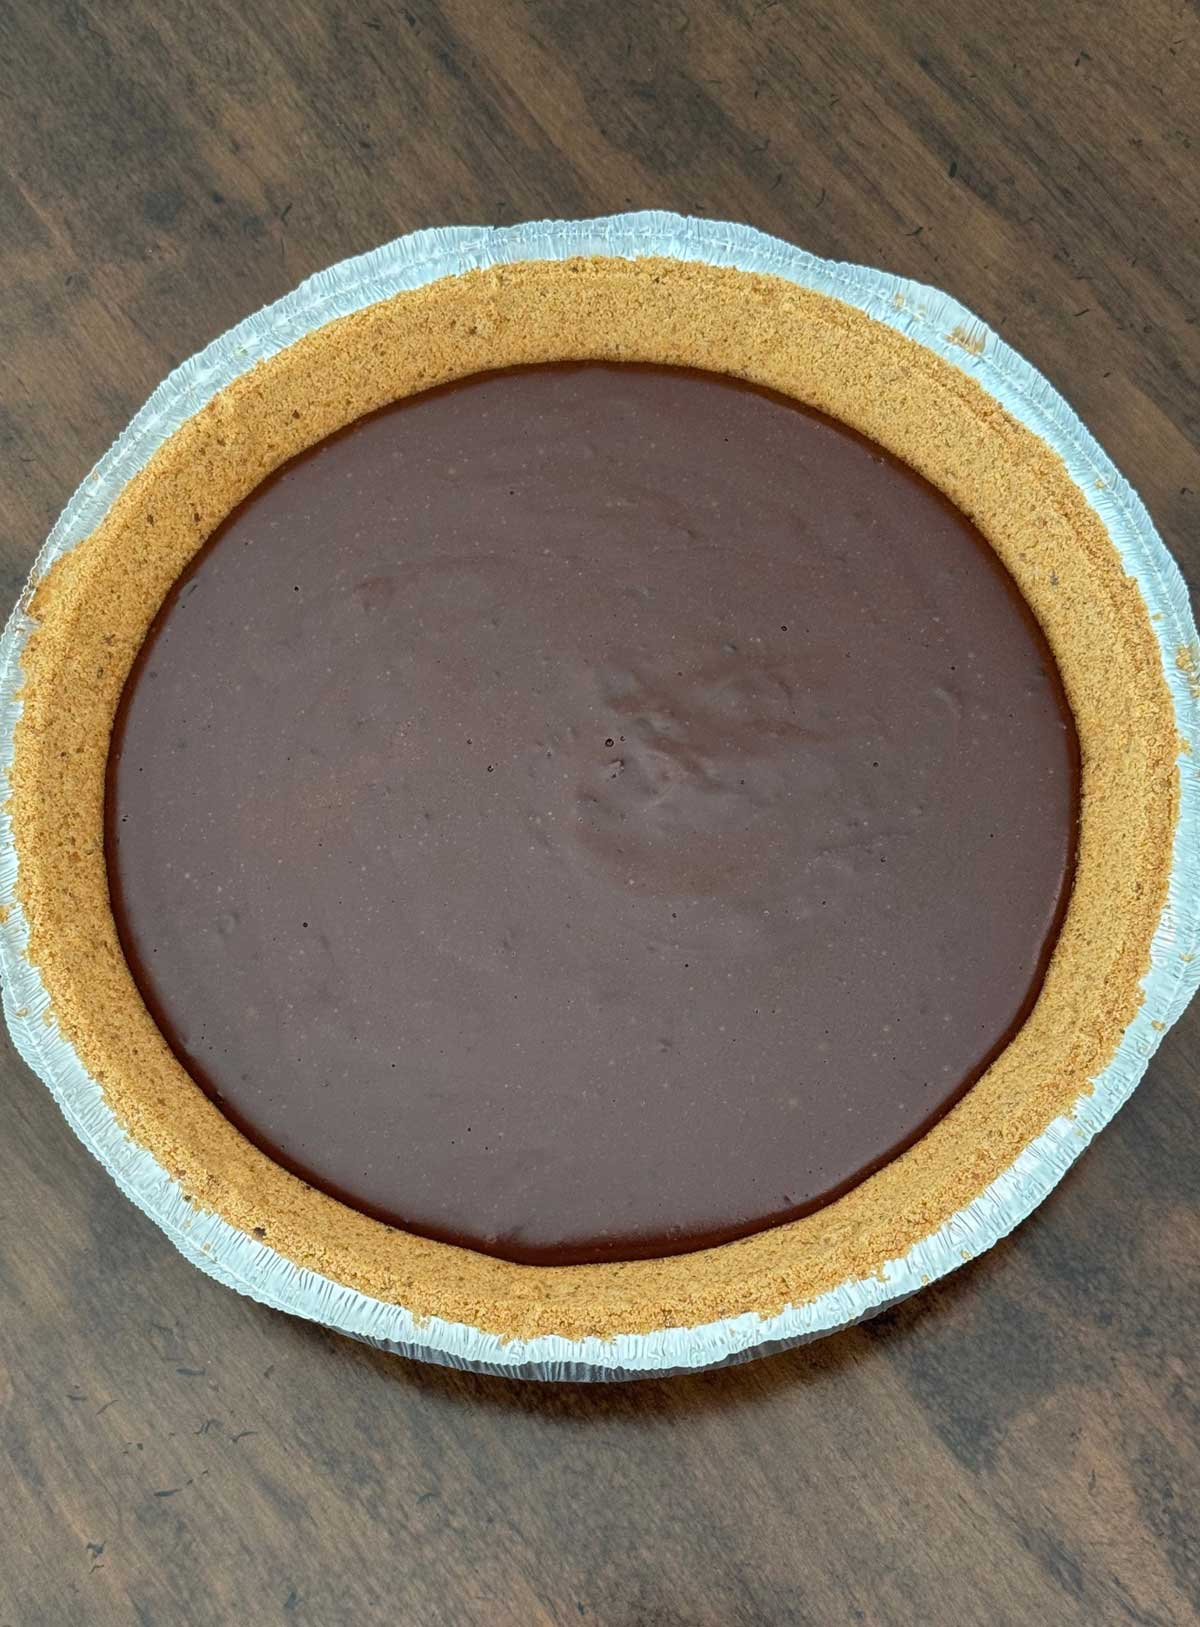
Small 6 oz Graham Cracker Crust
I finally got around to testing a half batch in a small Food Lion brand 6 oz graham cracker crust. Even though they are 9-inches, they are very shallow and perfect for holding a half batch of filling. So if you want to make a little family size quickie pie with a store-bought graham crust, this filling works well. Here it is before I put the cream on top.
Recipe
Evaporated Milk Chocolate Cream Pie
Ingredients
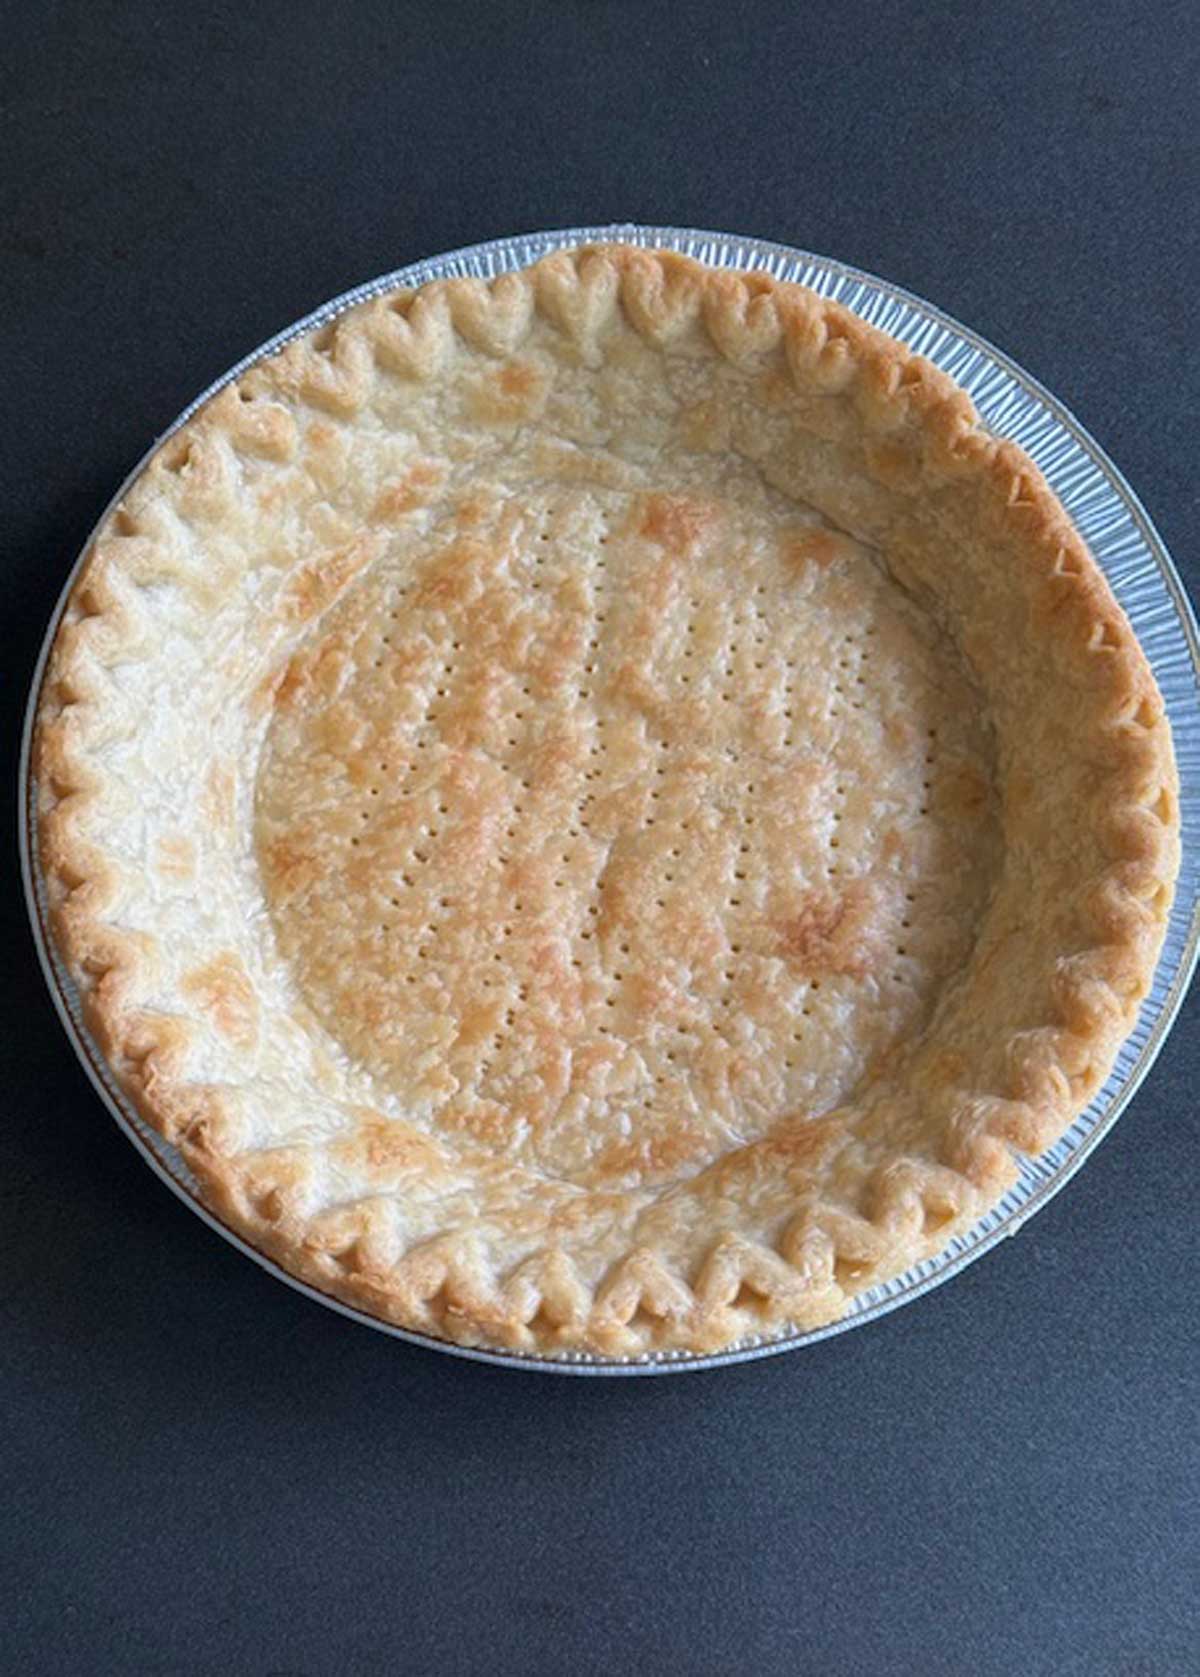
- 1 9 inch pie crust, deep dish, baked (see note)
- 1 ¼ cups granulated sugar (250 grams)
- ½ cup unsweetened cocoa powder, best quality** (60 grams)
- ⅓ cup cornstarch (40 grams)
- ¼ teaspoon salt
- 2 cans evaporated milk, Pet (12 oz each/3 cups total)
- 4 tablespoons room temperature butter, cut into chunks (56 grams)
- 1 teaspoon vanilla extract
Whipped Cream For Top -- Optional, or use Whipped Topping
- 1 cup heavy whipping cream
- ⅓ cup powdered sugar or about 3 tablespoons granulated
- 1 teaspoon vanilla extract
Instructions
- Mix the sugar, cocoa powder, cornstarch and salt in a medium to large (I use a 3 ½ quart) saucepan off heat.
- Gradually whisk in evaporated milk until blended. Try to blend it as evenly as possible to avoid lumps.
- Set the pan over medium heat and stir constantly until mixture comes to a boil. After mixture starts to boil, set timer for 1 minute and continue stirring until timer goes off.
- Remove from heat. Add butter and vanilla, stirring until butter is melted. Pour into prepared crust. If your crust doesn't seem like it's going to accommodate all the filling, hold some back. Also, if you prefer a smoother filling feel free to strain it into the pie crust. I don't usually bother and we like it unstrained, but pushing it through a sieve will remove any lumps, the whipped cream covers other imperfections.
- Cover with plastic wrap or buttered parchment to prevent skin from forming. Let the pie cool at room temperature for about an hour, then transfer to the refrigerator.
- Chill 4 hours or until ready to eat.
Homemade Whipped Cream
- Before you serve the pie, top it with store-bought whipped topping or make your own using 1 cup of whipping cream and about ⅓ cup of sugar. This will give you plenty, probably more than you need for the top of the pie.
- To make whipped cream, combine the whipped cream and sugar in the bowl of a stand mixer and beat just until soft peaks form. Add vanilla and keep whipping just until peaks are stiff.

Anna says
Yes, definitely!
mel says
could you use a graham cracker crust for this pie?
Anna says
Cheryl and Darlene, thanks for the comments! Cheryl, that's a cute idea to make a special pie solely for the birthday person. Darlene, I'm glad you have the ingredients and hope you get around to making it. Would love your opinion.
Darlene says
Looks delicious, and I actually do have all the ingredients!
Cheryl says
For years I would make some of my pie recipes 1.5 times so I ended up with a large and a small pie. One to celebrate with and the small one for the birthday person to take home and enjoy. Always got those little pans returned so I would do again next year for them!