
These Rice Krispie Treats with browned butter are my favorite version of a classic because browning the butter completely changes the flavor. Instead of tasting flat and sweet, the treats pick up a subtle toasty, caramel-like note that makes them richer and more interesting without making them heavy. The recipe itself comes from an old brand-name cookbook. It includes a peanut butter Rice Krispies treats variation, but the real magic is in taking the butter just a little further than usual.

I originally posted this recipe a few years ago under the name Marshmallow Treats from the '80s, which, in hindsight, wasn't very helpful. The defining step has always been fully melting the butter and letting it brown, so renaming it Rice Krispie Treats with Browned Butter makes much more sense and reflects what actually makes them special.
Browning Butter and Pan Type
When I recently made another batch on an electric stove, I was reminded how quickly butter can go from browned to burned. I had to lift the pan off the burner to slow things down, which led me to modify the instructions slightly. One tip that really matters here is pan choice: stainless steel works best because it lets you see the color change clearly. Aluminum doesn't always brown butter evenly, and dark-bottomed pans make it harder to judge when the butter is ready.
If you're new to browning butter or just want a visual reference, America's Test Kitchen has a clear, straightforward video showing the process.
Browned Butter vs. Brown Butter
A quick terminology note: I've always called it browned butter, but the more common culinary term is brown butter. Even if you've browned it yourself, "brown butter" is technically correct. I didn't know that for years. It's just one of those details you notice, mean to look up, and then forget.
Recipe
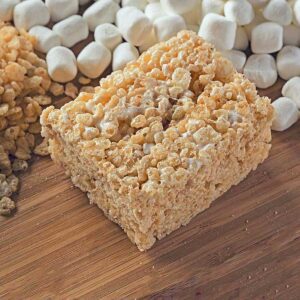
Rice Krispie Treats with Browned Butter
Ingredients
- 4 tablespoons butter, salted (56 gram)
- 4 cups marshmallows (280 grams)
- ¼ cup peanut butter optional
- 5 cups Rice Krispies cereal
Instructions
- Have ready an 8-inch square metal pan. In the past I've used a 9-inch square or 13x9 inch, but I like the look of tall krispie treats, so these days I use an 8 inch pan.
- Rub a very large, light colored stainless steel saucepan or Dutch oven with butter to prevent sticking. Set over medium heat and melt the butter until it just starts to brown. This will happen at a different rate of speed depending on your stove. If it starts browning too quickly, remove from heat, swirl the pan, and put the butter back on at a very much reduced heat. Be careful not to burn it.
- Stir in the marshmallows and reduce heat to low. Stir marshmallows until they begin melting. When melted, add the peanut butter (if using) and cereal and stir until coated.
- Transfer mixture to pan and press down with a piece of greased foil or parchment. Let the treats cool completely then lift them out of the pan, place on a cutting board and score into giant size squares.
Anna says
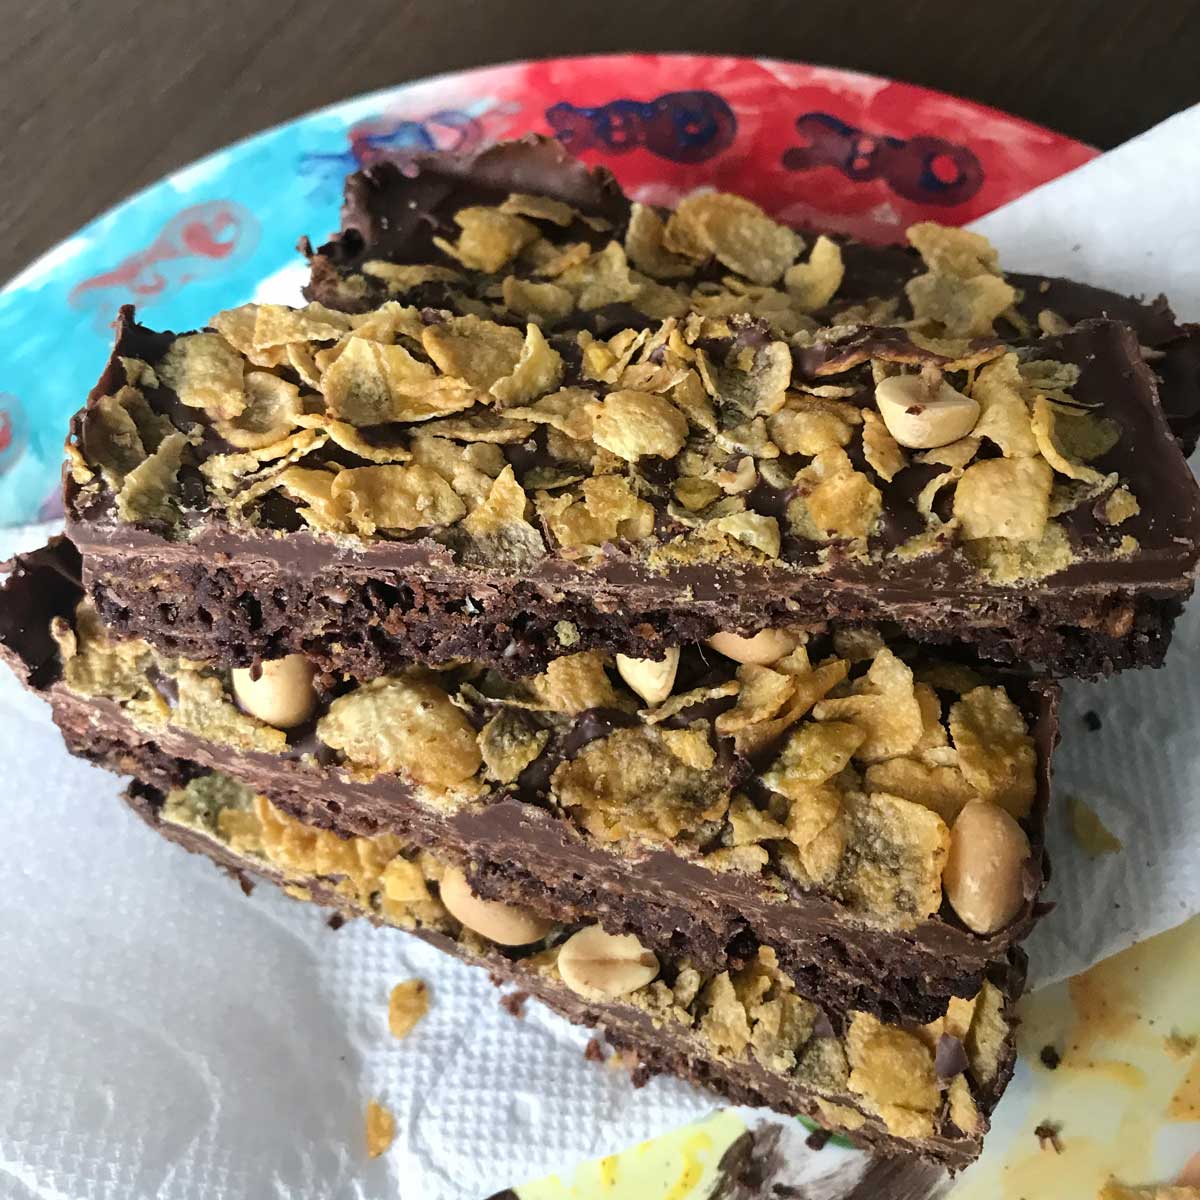
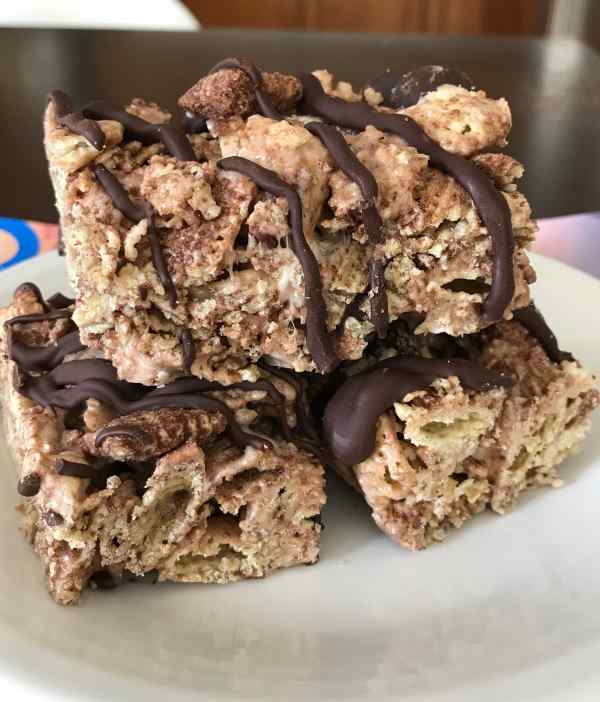
Diana, thanks for the review! I've had that happen a few times when I thought I could get away with adding chocolate chips to warm granola bars. For the Rice Krispies treats, if you like the base recipe with the browned butter, maybe try dipping the treats in chocolate or drizzling with melted chocolate next time. Thanks again for the review from Colorado! Stay warm.
Diana says
I made two batches of these to send w my granddaughter on a ski trip. One w the peanut butter and one with mini choc chips. The choc chips melted and didn’t look too pretty but yum they were good. I’m sure they will be a hit! My samples were excellent.
Angela says
I can't remember where I saw the recipe, but have you tried this using unsalted butter and adding sea salt. Super yummy and has a little crunch with the salt. Browned butter rice krispie treats are my favorite.
AJ says
Thank you for the browned butter tutorial -- the taste is so distinctive, but I've been a little scared to attempt it.
shelly (cookies and cups) says
yes and please!
sounds fancy and cozy ~ love that!
Anna says
I didn't do any straining. I know a lot of recipes for browned butter call for it, but in this case I don't think it's necessary.
One thing I'm thinking about trying is making the brown butter in a small stainless steel pan, straining it, then storing it in the refrigerator it until ready to use in a fresh batch of treats. This seems like a lot of extra work, but if you had the browned butter already prepared, you could melt the butter and marshmallows in a microwave safe bowl and prepare the treats using the microwave method.
But no, I never strained it and I never tasted any bitterness or unpleasantness from the unstrained browned butter.
cookienurse says
Anna,
Thanks for the tutorial, but please pardon my ignorance as I couldn't find the answer ~ am I supposed to strain the brown butter to get all the particles out?
Katrina says
Sue, my issue is really more in that I am doing more than one thing at a time and forget it for too long, but it's nice to know I have something to blame it on. 😉 And Sue, what happened to your blog? Haven't seen anything for a while.
Sue says
Katrina, you can brown butter on an electric stove. Really! I do it. The key is a good stainless steel pan.
vanillasugar says
must try this!!!
Lynn says
I love how browned butter packs in the flavor. What a super idea to use it in rice krispie treats!
Katrina says
Now I know why I've always had a hard time with browned butter. I've only ever tried on an electric stove. Our new house in Utah has a gas stove! You know me and rice krispies treats and I'm sure I'll have to try this!
Sue says
Just last week I was in a coffee shop where they were selling Rice Krispie treats that were large enough to serve four. It made me think that it's been a long time since I made them. One time I made them with white chocolate, browned butter, and brown rice cereal in addition to the marshmallows and I thought they were divine. I'm sure these are too.
Debbi says
I LOVE the smell of browned butter. It makes all the difference in the world with something like this! Thanks for the reminder.